 |
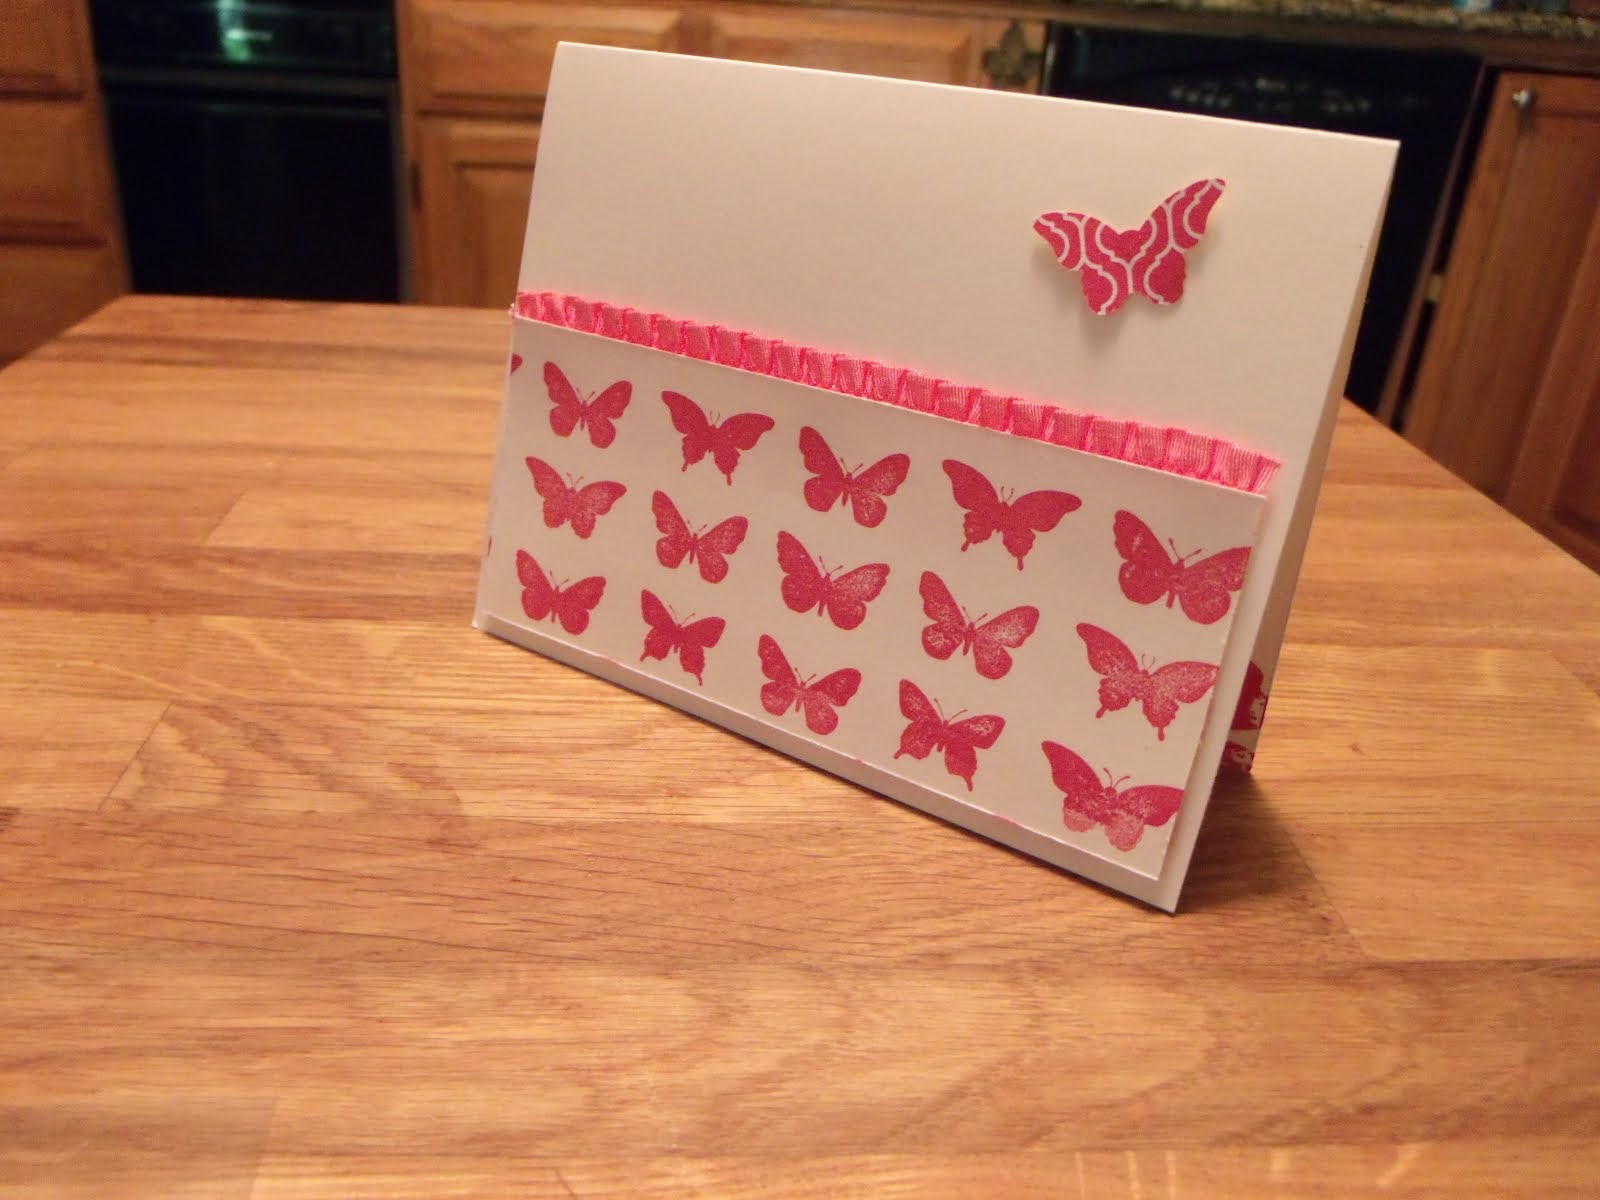
| Emboss Resist Butterflies |
.JPG) |
| Emboss Resist Butterflies, inside |
.JPG) |
| Emboss Resist Butterflies, inside detail |
SUPPLES:
sets- papillion potpourri, bloomin marvelous
cs- tangerine tango, whisper white, glossy white
ink- bashful blue pad, Versamark pad
access- heat tool, iridescent ice and tangerine tango ep, tango SAB ribbon, brayer, dimensionals
punches- bitty butterfly, large oval and scallop oval
 |
| Box Card |
 |
| Box Card, open |
 |
| Box Card, open |
I have to laugh because the "pinwheel" on top was inspired because after I cut off the corners of the bottom I couldn't bear to throw away those pretty scraps. I played around with them and came up ith the "oragamish" pinwheel.
SUPPLIES:
sets- patterned occasions -SAB
cs- white, sab sycamore street dsp, island indigo, or summer starfruit
ink- markers- island indigo, rich razzleberry, tangerine tango summer starfruit
access- sab sycamore street ribbon and button pack, mini silver brads, paper piercer and mat pack, large rhinestones, simply scored tool, sticky strip and dimensionals
Small Box Card Directions:
Bottom:
- start with 6" square of dsp or card stock
- score at 2" and 4"
- rotate one quarter turn and score at 2" and 4" again
- pre-fold score lines
- cut off outer corners, we saved them for the pinwheel
 | ||
| box bottom |
 |
| corners |
- fold corners in half, right point over to left point
- fold top layer in half, bottom left point up to top point
- pierce through all three layers of each
- use a mini brad to attach all points together and to the lid


- start with a 3-5/8" square card stock
- score at 3/4" on all sides
- pre-fold all score lines
- make 4 cuts to create tabs
- add sticky strip to tabs and adhere to form lid
- finish decorating as desired. We added the pinwheel, ribbon, button and large rhinestone.


No comments:
Post a Comment