|
| #1 Winter Window Card |
The first card was the reason I had this class! I miscalculated the
number of Christmas cards I was making and caught the mistake after
punching out the ovals and embossing the front. I could finish the
extra fifty cards, or redesign them for a Winter SAS!
This was my Christmas card. I bought the
Button Buddies set when it was 50% off and was just itching to use it. Doesn't the snowman fit perfectly through the window? I also wanted to use the
Delicate Details TIEF.
Teeny Tiny Wishes is the perfect set for multiple greeting options and was the right size to easily stamp on the ovals which were already punched out. Colors are
night of navy and
very vanilla.
 |
| #2 Winter Snowman/Friend Card |
I copied the second card almost exactly
from one my friend Cheryl designed. I like the window framelits. I changed the dsp to Twitterpated because I didn't have the paper she used. The colors are
whisper white, not quite navy and baja breeze. The sentiment on the inside is from the
Made for You set and has three greeting options.
 |
| #2 Winter Snowman/Friend Card, inside (one option) |
 |
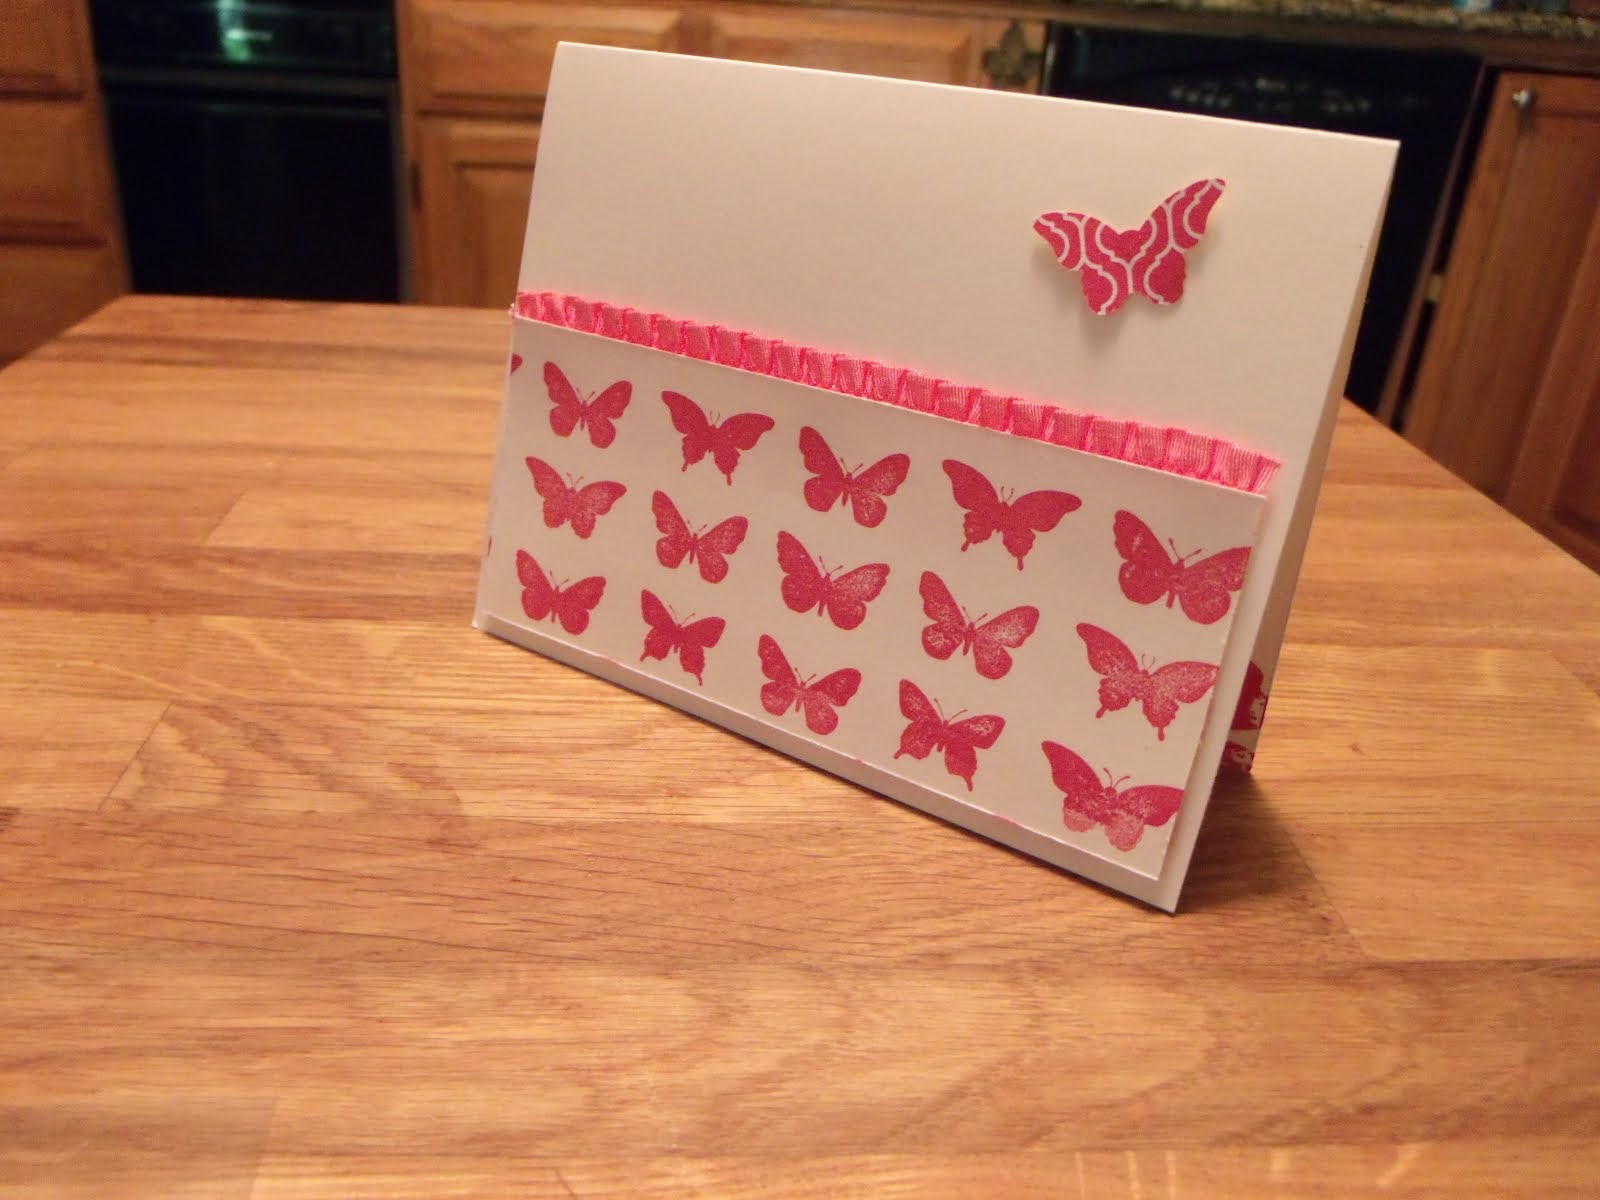
| #3 Love Card, some options |
I could make a gazillion of these cards because they're sooooo easy! And there are tons of image options! The set,
Pretty Petites, will be offered as an item you can earn for FREE when you spend $50 during SAB Jan 22, 2013 to March 22, 2013. The petite curly label punch can also be gotten as a FREE SAB item. This card was inspired by one I saw
here on Ruth's blog.
 |
| #3 Love Card, red glimmer or raspberry ripple option |
Tip: There's a neat trick for the red glimmer paper option. It's easy enough to snail the glimmer paper to the card front, but difficult for a dimensional to stick on the glimmer side and pop up the petite curly label. So after punching the large curly label out of the red glimmer paper, but before adhering it to the card front, punch a small flower using the itty bitty punch pack out of the center of the curly label. Then adhere it to the card front. Place a dimensional to the card front through the little flower shaped hole; then pop up the petite curly label on that. Sorry I didn't take a photo of this step!
 |
| #3 Love Card, some inside options |
We just stamped a simple greeting from the retired Well Scripted set, but any set would work.
 |
| #4 Valentine Treat |
For our final project we made candy treats using the exclusive Valentine Treats bundle that's available only until Mon Jan 21, 2013. Everyone stamped the heart image 5 times on a 2-1/8" x 11" strip of whisper white cs with versamark ink. Then it was heat embossed with melon mambo ep and punched out using the full heart punch. A dimensional holds it to the cello bag of candy conversation hearts.
Tip: before removing the protective layer strip of the cello bag, be sure your fingers are free of sugar dust from the candy or it won't be sticky and close.
Every one loved these simple projects. They were easy and quick to complete. Everyone finished 8 cards and 5 candy treats in under 2 hours!
Happy Stamping! Mary
.JPG)
.JPG)
.JPG)


.JPG)
.JPG)
.JPG)
.JPG)
.JPG)
.JPG)
.JPG)