.jpg) |
| All Four Cards |
On the supply lists I show
SAB items in red. These items can be earned for free with a $50 net order during Sale-a-bration (SAB). I'm a little late with this post - sorry!
.JPG) |
| Cross Over DSP Card |
SUPPLIES:
sets -
Mixed Bunch
cs - 4-1/4" x 5-1/2" calypso coral, 3-3/4" x 5" whisper white & scraps,
best year ever dsp: 4" x 3" curry design, 4" sq coral design
ink - crushed curry, calypso coral pads
access - 14" each of calypso & curry
best year ever ribbon, dimensionals
punches - 1/4" handheld, blossom, 3/4" circle
SCORING DSP:
for 4" x 3" , score at 1/2"
for 4" sq, score at 3-1/2"
Card Assembly:
- stamp 3 3/4" x 5" wh cs with flower center image along top and bottom
- Snail the 1/2" tabs of the DSP and attach the smaller one centered vertically under the left side of wh cs and the other one vertically centered under the right side of white cs.
- attach the white cs to the coral cs
- ink flower image with calypso coral pad, stamp on white scrap and punch out with blossom punch
- ink flower center image with crushed curry pad, stamp on white scrap and punch out with 3/4" circle punch
- add ribbon, using stay put knot to card front
- add punched flower to card front with a dimensional, add punched flower center with another dimensional
.JPG) |
| Cross Over DSP Card, open |
.JPG) |
| Simple Punch Card |
Punch out flowers and then punch squares around them. Save Flowers for inside of card. Punch itty bitty banners and attatch to under side of top piece. Mount top piece with dimensionals
SUPPLIES:
sets -
A Dozen Thoughts,
SAB Simply wonderful (optional inside greeting)
cs - 5-1/2" x 8-1/2" mossy meadow card base and scraps, 2@ 5-1/4" x 4" and 4-1/4" x 3-1/2" very vanilla, hello honey scraps, blackberry bliss scraps
ink - mossy meadow marker
access- rhinestones, dimensionals
punches - itty bitty accents, itty bitty banner, 1-1/4" square
.JPG) |
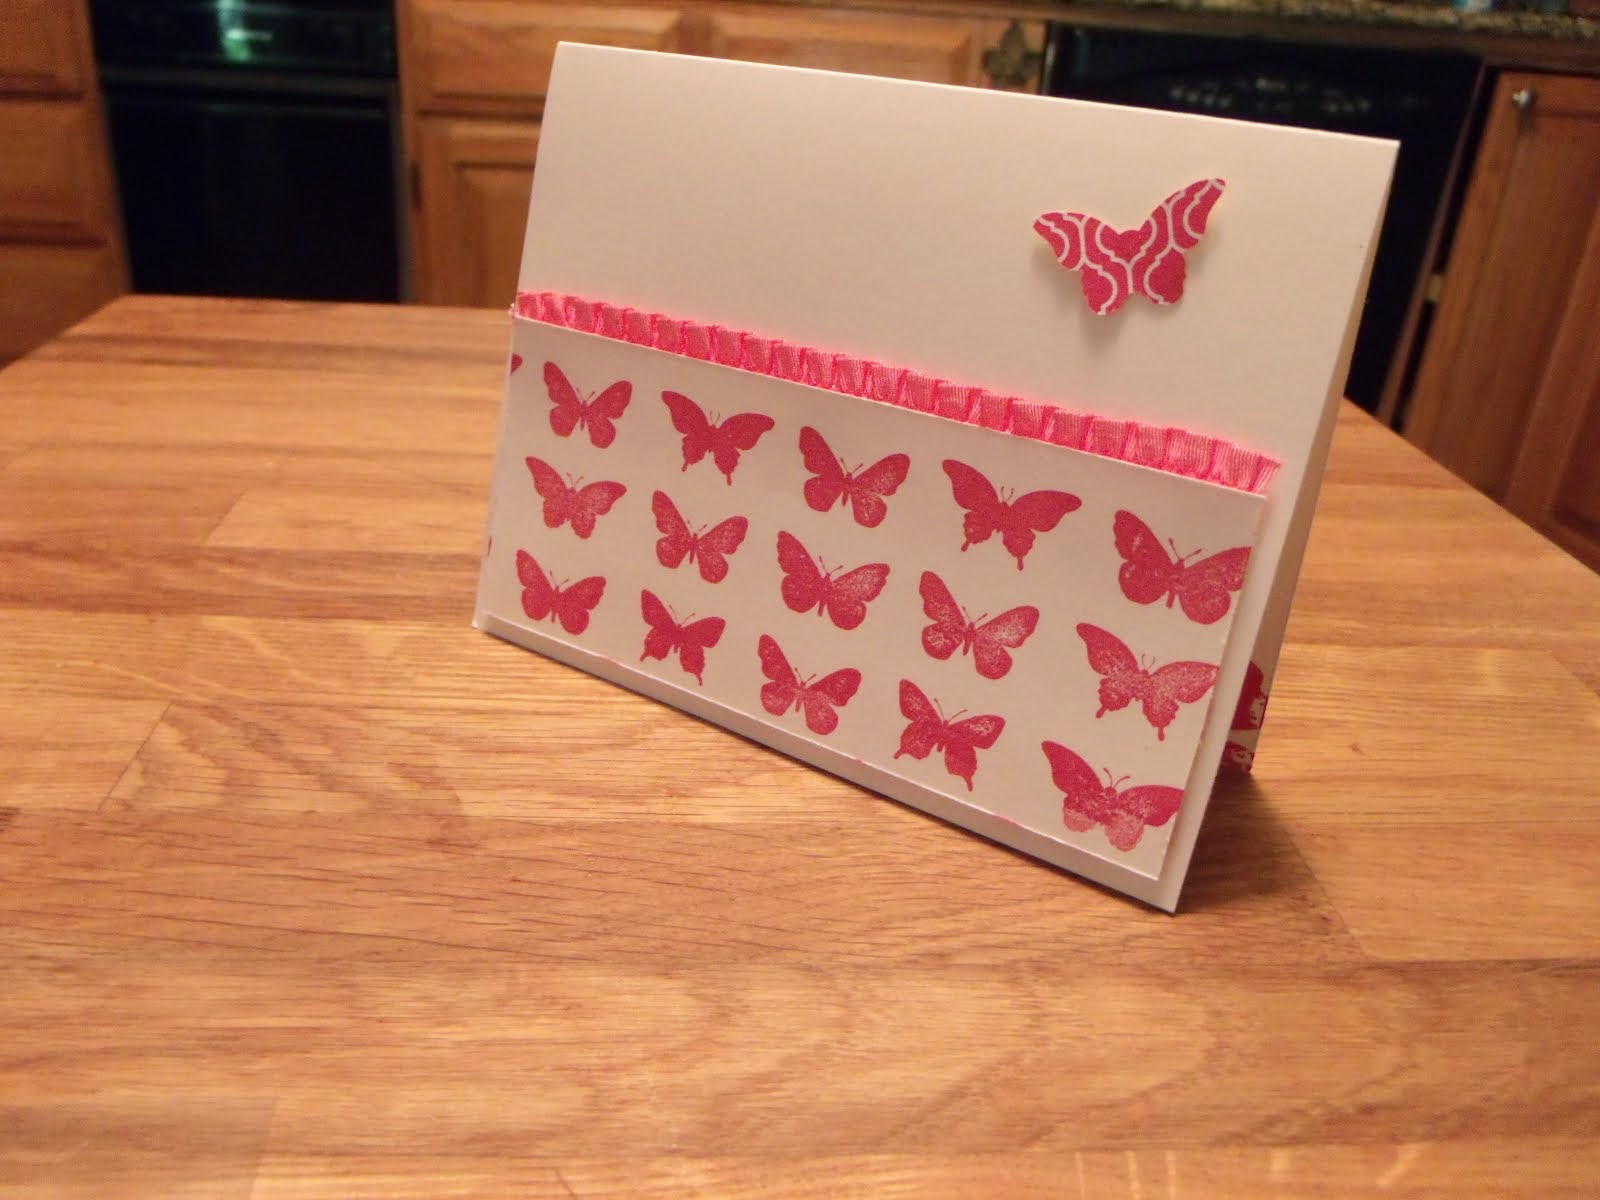
| Irresistibly Yours Card |
Either brayer or sponge Irresistibly Yours dsp with razzleberry ink until you get desired depth of color. Wipe off excess ink with paper towel.
SUPPLIES:
sets -
Painted Petals
cs - 8-1/2" x 5- 1/2" whisper white card and 3-1/4" square, 2" x 5- 1/4"
irresistibly yours SAB DSP
ink - island indigo, rich razzleberry and wild wasabi pads
access - painted blooms cotton twine, sponge or brayer, rhinestones
.JPG) |
| Lotus Blossom meets Painted Blooms DSP Thank You Card |
SUPPLIES:
sets -
SAB Lotus Blossom
cs - 8-1/2" x 5-1/2" garden green card, 4" x 5-1/4" painted blooms dsp, 4" x 5-1/4" whisper white (guts), 2-1/4" x 4" and scraps, 2-1/2" x 4-1/4" pacific point
ink - pacific point, marina mist, soft sky and garden green pads
access - 4" marina mist chevron ribbon, dimensionals, sponge
punches - large oval
.JPG) |
| Lotus Blossom meets Painted Blooms DSP Thank You Card, open |
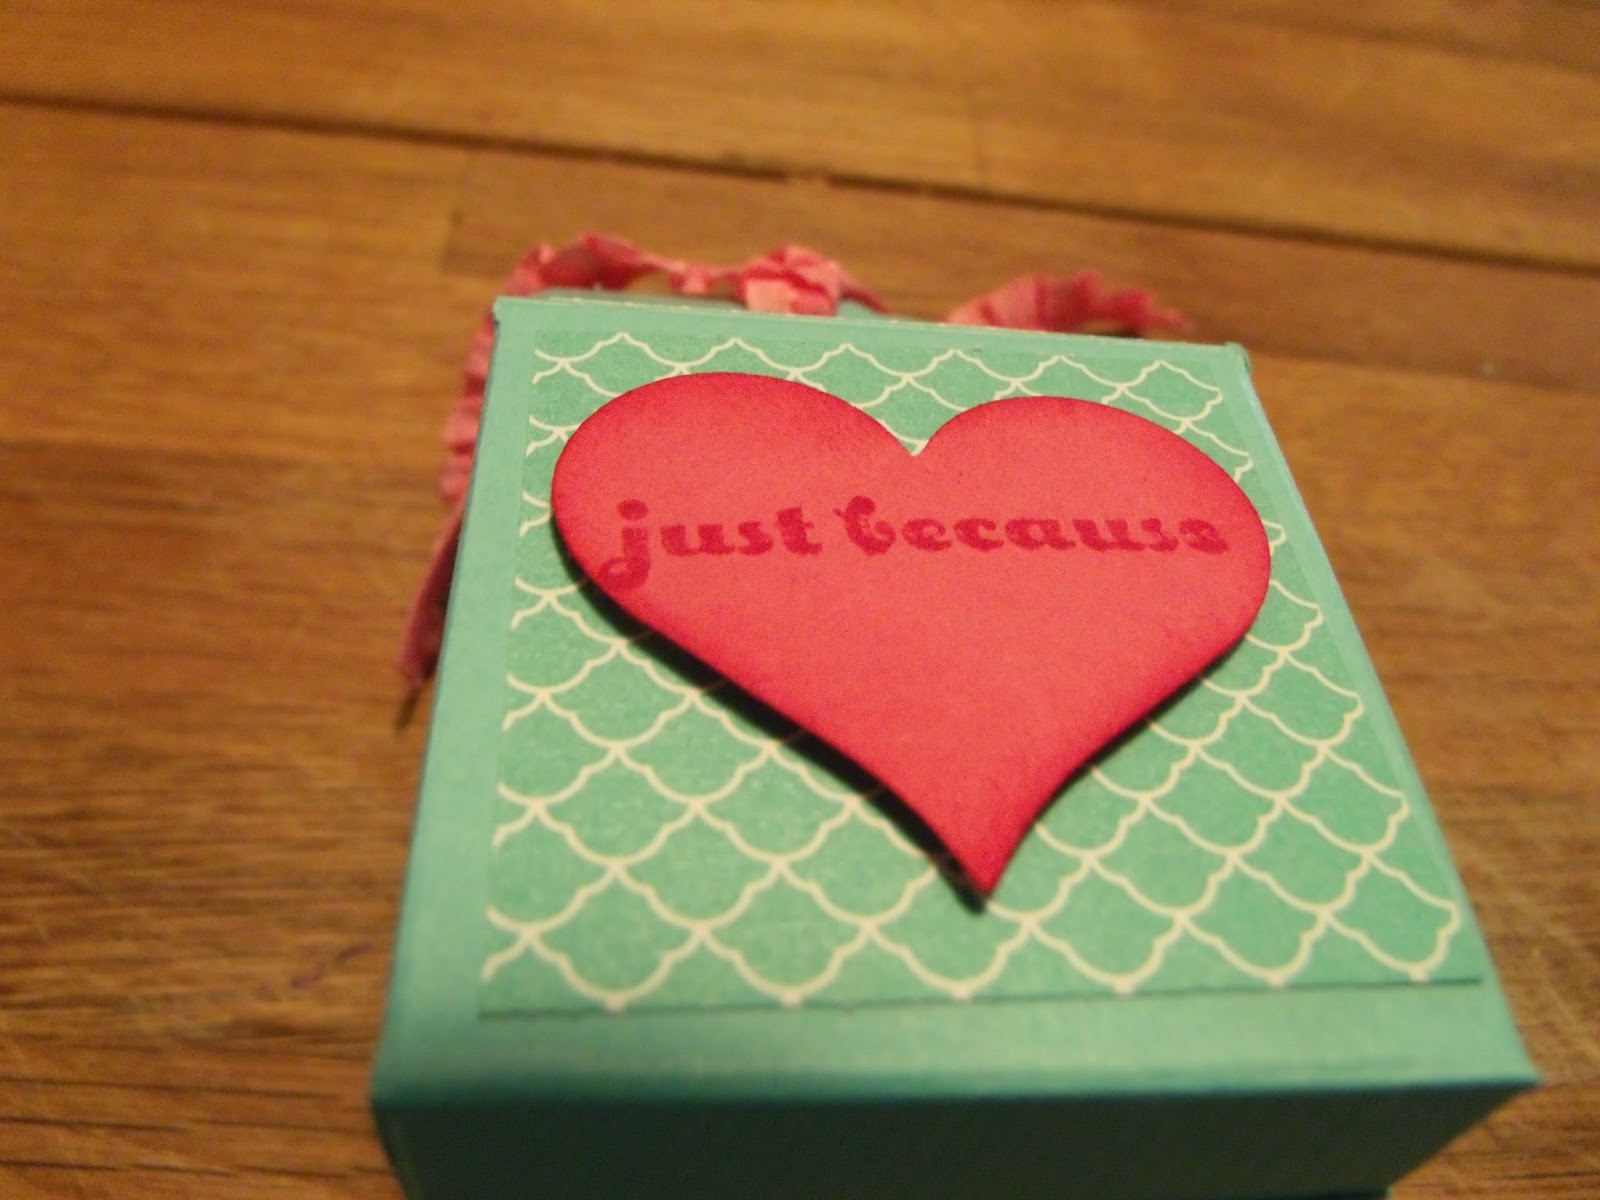
Below is a card people had the choice to make for an extra fee which was donated to
Build A Miracle, a non-profit started by my college friend.
 |
| Specialty Free standing Pop up Card, open |
 |
| Specialty Free standing Pop up Card, closed front |
 |
| Specialty Free standing Pop up Card, closed back |
We made free standing pop up cards in club.
See this post for basic card directions. This tag is slightly wider, so the slit is slightly bigger.
 |
| Specialty Free standing Pop up Card, sort of closed side view |
 |
| Specialty Free standing Pop up Card, open side view |
SUPPLIES:
sets -
SAB Big Day
cs - 4-1/4" x 11" (base card) and 3" x 5-1/4" (tag) bermuda bay, 2-1/2" x 4-1/4" (tag) and scraps whisper white, 4-1/4" x 1" (card front) and 3" x 1" (top of tag) birthday bash dsp
ink - bermuda bay pad
access- sticky strip, dimensionals, sponge, decorative label punch
 |
| Specialty Free standing Pop up Card, pieces before and after assembly |
Happy Stamping! Mary