Thursday, February 24, 2011

Folded Scallop Circle Flower

I used the fresh flowers set, which I rarely use. I like Bravo Burgundy and Very Vanilla together.
Tami's card
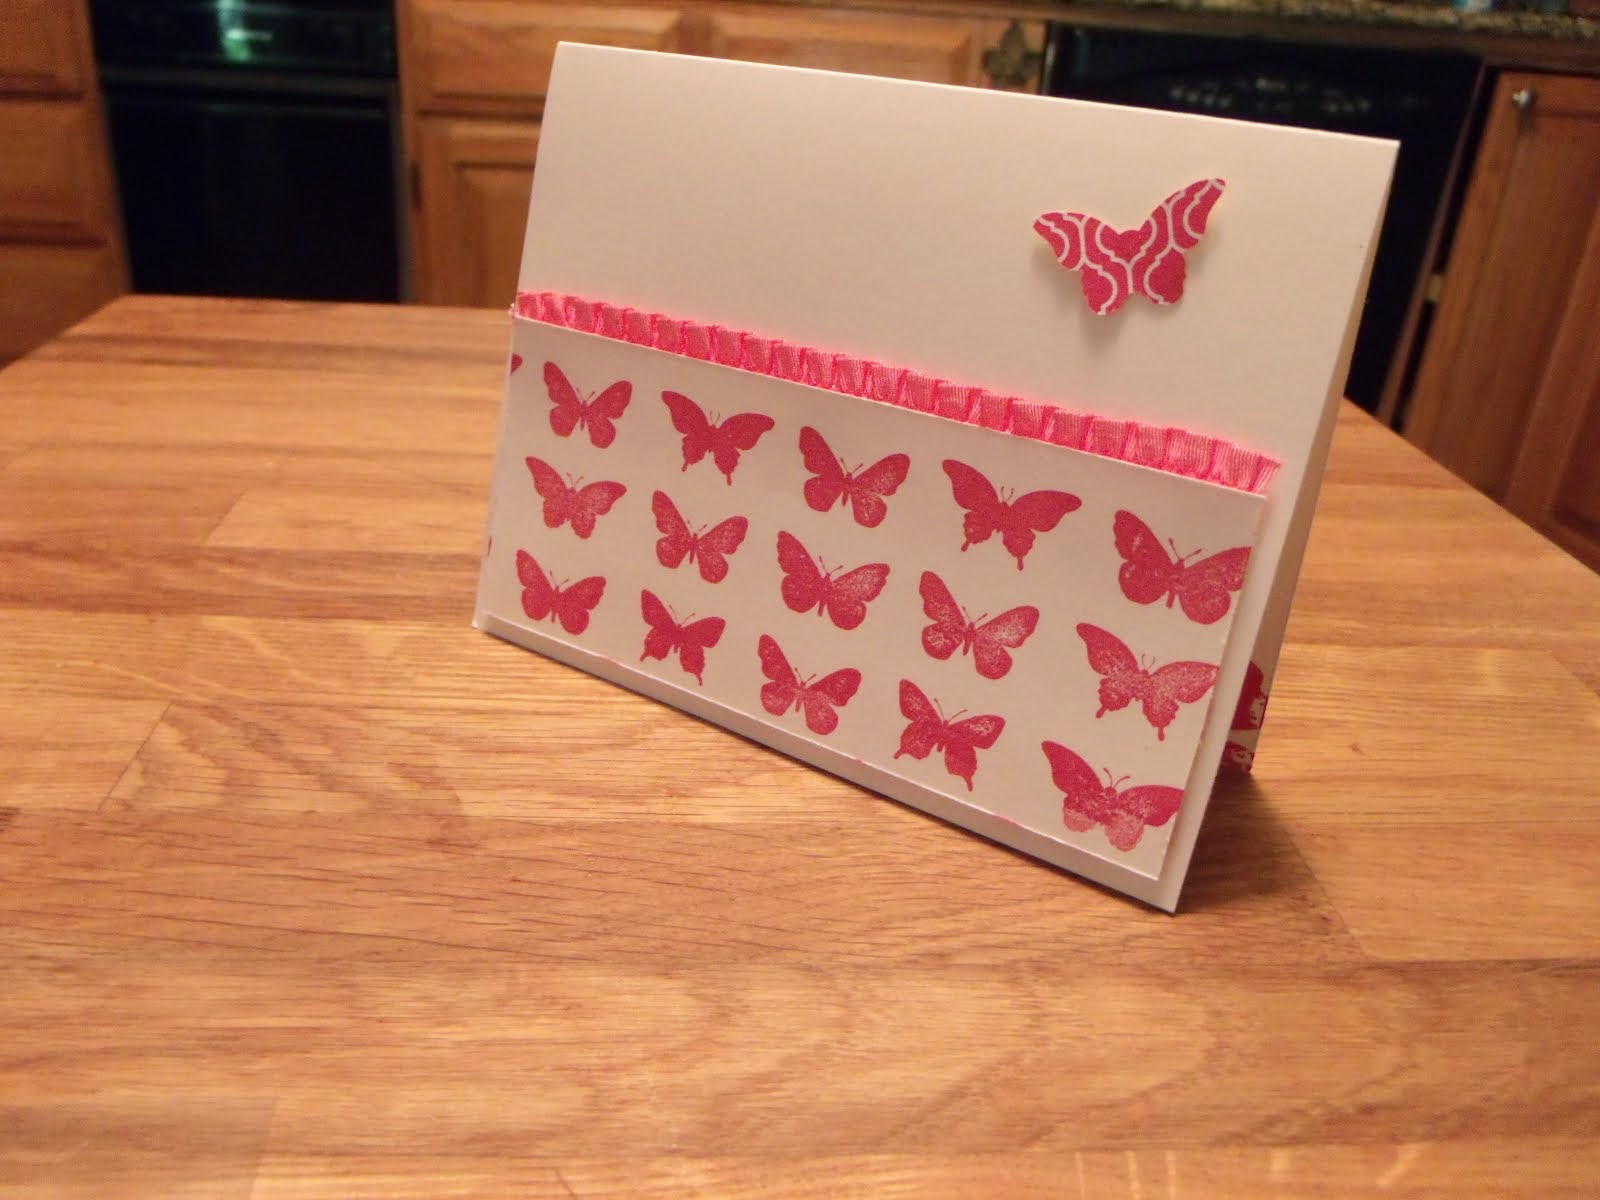
My upline, Tami, sent me the card above and the same day I also received from her a package of First Edition dp, pink Pom Pom Trim, and linen thread. I was so excited! I don't have the flower die (from the Occasions Mini) so I thought I'd try another 3-D flower. A bunch of them are shown on p. 23 of the SU catalog and you can view a good tutorial video on how to make them here. I also used the newsprint dp. I can't wait to use it in a class. I haven't tested the pom pom trim yet, but I'm anxious to do so! I went to my friend Cheryl's last week and have lots of cards to show you. After I attend a retreat this weekend I will try to post every other day, so check back often for new ideas.

Happy Stamping! Mary

Wednesday, February 16, 2011

Ornament Punch Stamp Camp (Jan 27 & 28)


3-D Magnolia Flower Box


Fish Card

Black Vase Card


Red Vase Card


Green Vase Card

This was such a fun stamp camp! Who would know that the ornament punch could be so versatile! The cards are really simple to do and the 3-D Magnolia Flower is easier than you think. I saw a video on how to make the magnolia flower about a year ago, but I didn't save the link. Now I don't know where I originally got the idea. Please e-mail me if it was your idea and I will give you credit. The box is an original that I made up. Leave me a comment with any questions about the recipes.

Happy Stamping! Mary

Monday, February 14, 2011

Happy Birthday, Patty!


My good friend, Patty, had her birthday today. We had a surprise party for her on Sunday. This is the card I made for her (she likes purple). It uses the beautiful retired Cottage Wall dp and my favorite layout for showing off beautiful dp. I call it a "fold over dp" card. You start with a quarter sheet of cs (old olive). Cut a piece of dp at 4" x 4-1/2" and one at 3-1/2" x 4" and score each at 1/2" along the 4" side. So they become 3-3/4" x 4-1/2" and 3-1/2' x 3-1/2". Attach both pieces to at 3-3/4" x 5" card stock (orchid opulence)and attach that to the card base (olive). Decorate as desired and you're done. It's simple to do, but I always have to look up the measurements.

Happy Stamping and Happy Valentine's Day! Mary

Friday, February 11, 2011

Jan 13th Technique Class, Finally

My DH helped me figure out why I couldn't upload photos (you have to turn the camera on? Really??? Normally I set my camera on my Kodak Easy Share printer dock, which eliminates this step) and so I am FINALLY able to post again! These are the cards we made in my last Technique Class. Boy does that seem like eons ago!


Project 1 Faux Diamonds Heart Card
Supplies:

sets- teeny tiny wishes, always
cs- real red, very vanilla, red glimmer paper
ink- versamark pad, real red pad & ink cartridge, basic black pad
access- always in bloom wheel, iridescent ice ep,pinking hearts punch, heart to heart punch, red gg ribbon, dimensionals


Project 2 Faux Doily Valentine Girl Card
Supplies:

sets- greeting card kids, grateful greetings, i heart hearts
cs- real red, very vanilla, red glimmer paper
ink- real red & basic black pads, blush blossom marker
access- watercolor wonder crayons, blender pens, 2-1/2" circle punch, pinking hearts corner punch, heart to heart punch, two-way glue pen


Project 3 Pine Tree Card, wet paper technique
Supplies:

sets- lovely as a tree, hope happens, silhouette sentiments
cs- soft suede, naturals ivory, watercolor paper, old olive
ink- early espresso pad and marker, always artichoke soft suede, old olive markers


Project 4 Humming Bird Card
Supplies:

sets- elements of style
cs- textured black, naturals ivory, very vanilla, love letters dp
ink- basic black & crumb cake pads
access- boho blossoms punch, scallop oval punch, 1/16" hand held punch, basic glimmer brads, frost white shimmer paint

Contact me if you want to learn any of the techniques we used in this class.

Happy Stamping! Mary

Tuesday, January 25, 2011

Sale-A-Bration is Here!


Spend: You will receive a free Sale-A-Bration product for every $50 you spend (before tax and shipping)!

Host: A hostess will receive a free Sale-A-Bration product for every $300 in workshop sales*, in addition to our regular hostess benefits!

*Note: This benefit is only available on qualifying customer, demonstrator, and workshop orders. Online orders do not qualify.

Join: New recruits will receive 15 percent off their Starter Kit (Standard or Digital+), plus a special Sale-A-Bration bonus bundle valued up to $50!

This is a great time to book a workshop. The first erson to hold a workshop during SAB with at least 6 guests will earn an extra $25 in free merchandise from me! So call me today.

Also, if you send in a SAB order ($50 net) by Fri. 1/28/11 I will enter your name in a drawing to receive a special prize.

Happy Stamping! Mary

Sunday, January 23, 2011

3-D Magnolia Flower


I made these 3-D Magnolia Flowers last May and I am finally having two stamp camps this week to make them (and a box similar to this one, but more elegant) and 4 awesome cards. I can't wait!

I still haven't been able to upload photos and I really want to show you the great cards we made at our Inkerbelles Demonstrator Get Together on Sat. I'll try to get it worked out in the next couple days.

Tomorrow my 14 year old is finally getting his braces off after 5 years! It's going to be a great day for him.

Happy Stamping! Mary

Monday, January 10, 2011

Valentine Scallop Square Boxes

edit: I am finally adding a photo of the scallop square boxes that I gave my club members in January. The photo is of the box sitting on the scallop square bigz die.


We had a lot of fun at Club yesterday (see yesterday's post for the projects we made). I gave each of the gals a little box with a couple mint patties. I had seen this idea on Monika's blog. I won't go into all the details because you can view her easy tutorial here. I used 12" x 12" red card stock and was able to cut four scallop squares out of each sheet. Then I punched out some retired designer paper with a 1" circle to decorate the sides (you could easily punch out various hearts or simply stamp the sides). I punched out more dp circles and glued them on red card stock punched circles (1-1/4") to decorate the mints. My camera and computer are conspiring against me. They won't let me upload the close up photo of the box I made. When I do manage it, I will edit this post. Thanks for stopping by!

Happy Stamping! Mary

Friday, January 7, 2011

January Club Projects


Project 1 - Gift Card Holder
This is an updated version of a Club Card I did a couple years ago. I've seen these gift card holder many times. I can't remember where I first saw it years ago, but I changed the dimensions to make a regular A-2 card size (the one I originally saw was barely larger than a gift card). I also made it with 8-1/2 x 11" card stock sheets since I don't have 12 x 12" in many colors. Here's a great
tutorial by Ruth Norton showing how the gift card holder is made, but using 12 x 12" card stock.

Supplies:
sets- always, sincere salutations
cs- sahara sand, textured black, rose red, very vanilla
ink- rose red craft pad, always artichoke, so saffron, marina mist & regal rose classic pads
access- word window & 1" circle punch, corner rounder, sticky strip, clear ep, 1/4" wide black gg ribbon, dimensionals


Project 2 - Pop-Up Valentine Card with Removable Bookmark
It's so easy and fun to make these Pop-Up Cards! I learned how from SU's website tutorials about four years ago. I even made an Easter card version with my first grade students! If they can do it, I know you can, too. The key is to attach the inside card ONLY at the top and bottom. Then it won't buckle when you open and close the card. Click here for directions.

I like Anne's tutorial on how to punch around the page using SU's border and corner punches.

Supplies:
sets- i (heart) hearts, grateful greetings
cs- real red, very vanilla, red glimmer paper, love letters designer paper
ink- real red pad
access- brights glimmer brads, 1/16" punch, pinking hearts corner & border punches, heart to heart & full heart punches, two-way glue pen

Happy Stamping! Mary