 |
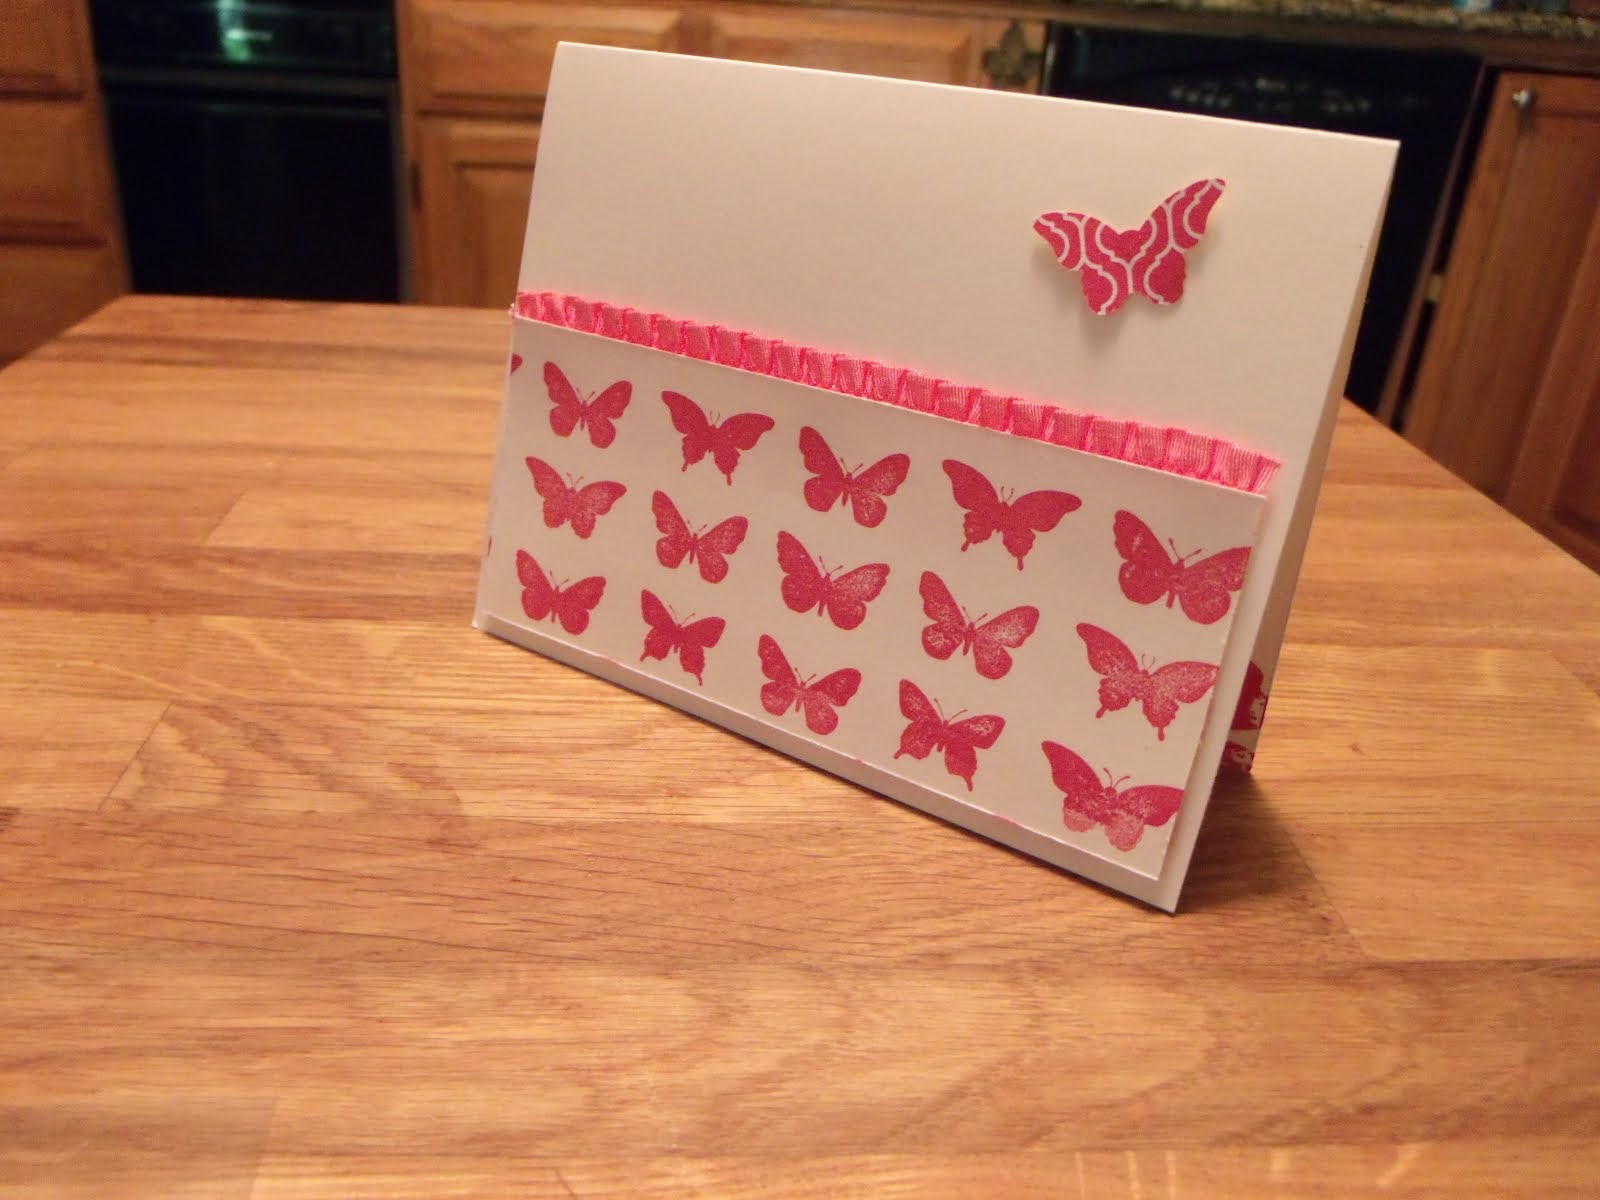
| Butterfly Free Standing Pop Up Card |
 |
| Butterfly Free Standing Pop Up Card |
sets - Simply Wonderful (SAB)
cs - elegant eggplant, wisteria wonder, whisper white
ink - elegant eggplant pad
access - Simply Scored tool, white organza ribbon, multi-use adhesive sheets (to create butterfly "stickers"), rhinestones, sticky strip, dimensionals
punches - 1/4" handheld hole, large oval, elegant butterfly, itty bitty butterfly, corner rounder
 |
| Butterfly Free Standing Pop Up Card, pieces |
 |
| Free Standing Lotus Thank You Cards, open |
 |
| Free Standing Lotus Thank You Card |
 |
| Free Standing Lotus Thank You Cards The cs in this photo looks green, but it's really blue (coastal cabana) |
 |
| The cs in this photo looks green, but it's really blue (coastal cabana) |
FREE STANDING TAG DIRECTIONS:
1. Hold card base horizontally and SCORE AT: 1”, 2 ¾”, 3 ¾”, 5 ½”, 7 ¼”, 8
¼”, 10”
2. Along the middle 5 ½” score line mark
5/8” (or ½”) from both sides & cut between these two marks to make a slit
for your tag
3. Add sticky strip to both of the ½” “tab”
ends of card base, along outside edge on one side and just inside the fold on
the other side.
4. Decorate card base as desired at this
point. Make tag and slip it through slit
5. Fold up “tab” end, make sure tag is
straight, centered left to right and bottom edge lines up slightly above the
folded up tab edge
6. Remove the sticky strip liner and
stick tag to it
7. Fold under the tab on the other edge
of card, remove the sticky strip liner, fold down on the 5 ½” score line and
adhere to card (the tag will stick up from the slit)
 |
| The cs in this photo looks green, but it's really blue (coastal cabana) |
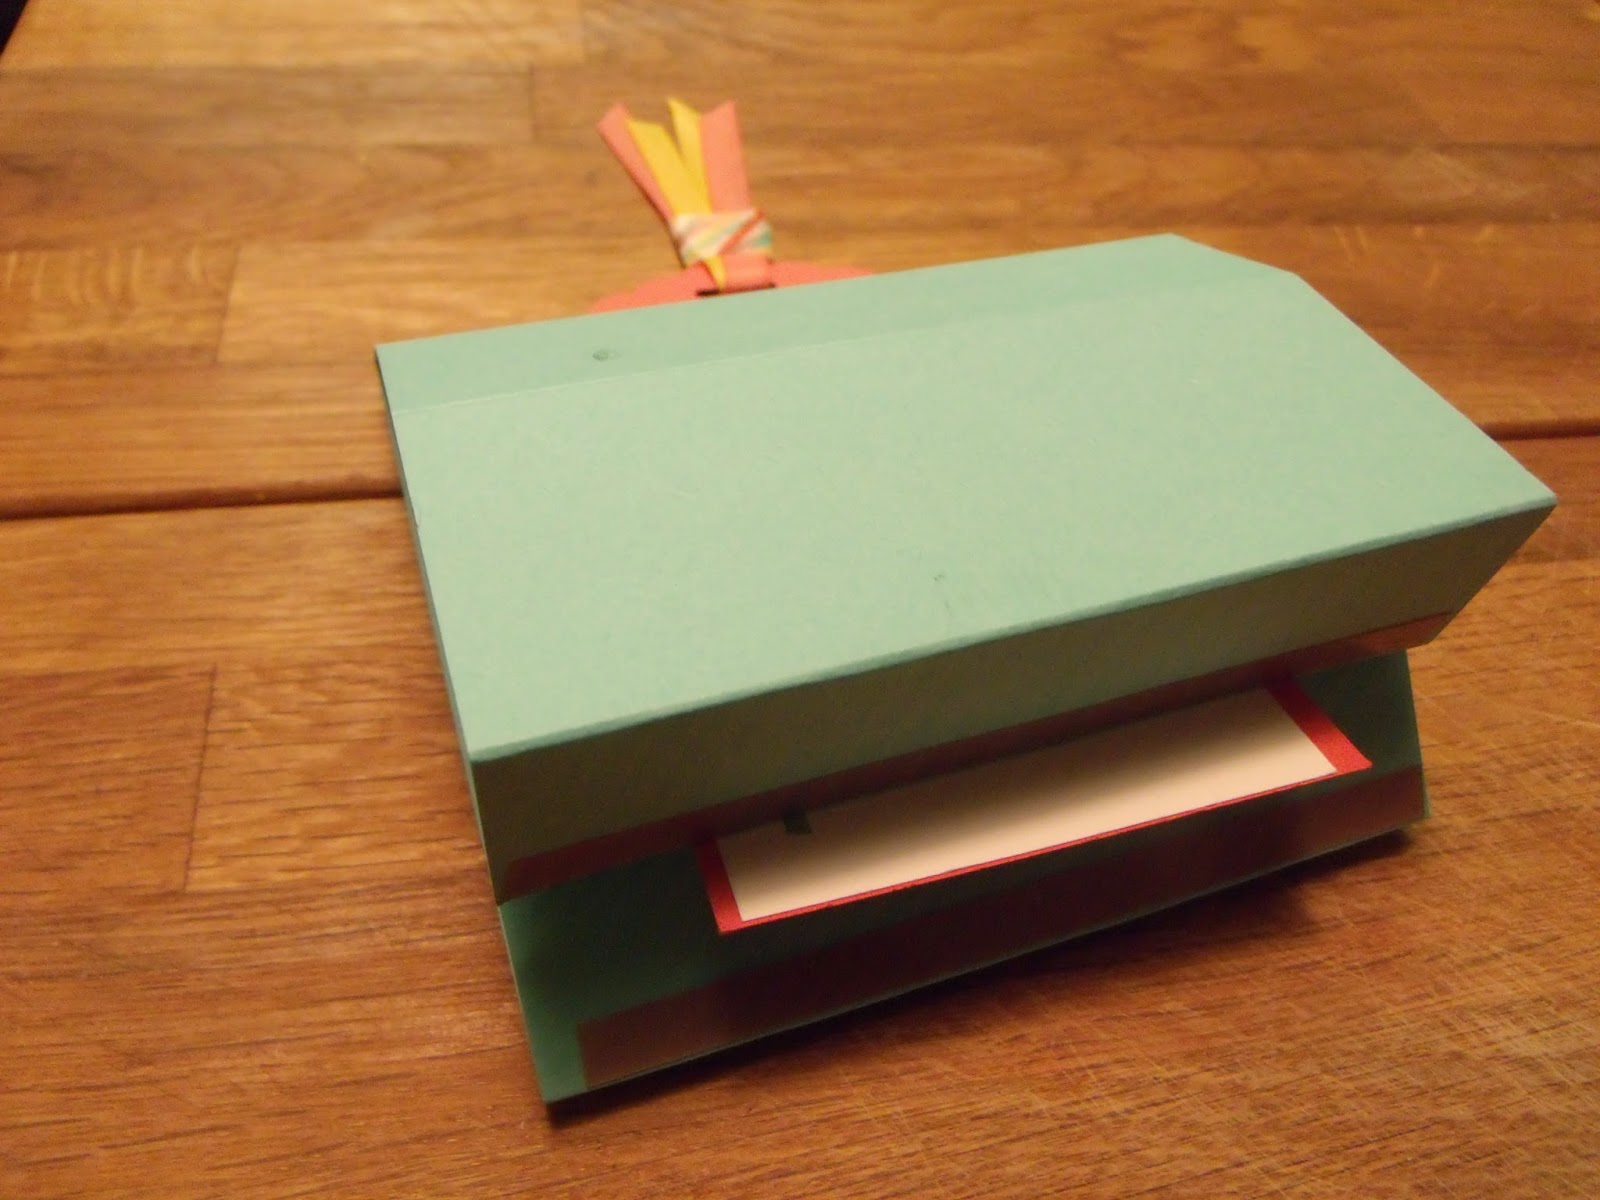
sets - Lotus Blossom (SAB)
cs - coastal cabana, calypso coral, whisper white
ink - crushed curry, coastal cabana, calypso coral pads
access - Simply Scored tool, SAB Best Day Ever buttons & ribbon pack, dimensionals, sticky strip, dimensionals, mini glue dots, retro fresh washi tape (retired)
punches - 1/4" handheld hole, large oval, scallop tag topper, corner rounder

STAY PUT KNOT DIRECTIONS:
1. Punch ¼” hole where you want knot to
be
2. Enter ribbon and leave a 3” tail on
front of card
3. Wrap ribbon all the way around card
4. Come up hole from the back.
5. Make sure “tails” are even length and one on each side
of hole, then tie your knot (or bow) and trim ends.

Happy Stamping! Mary


No comments:
Post a Comment