 |
| May Club Projects |
 |
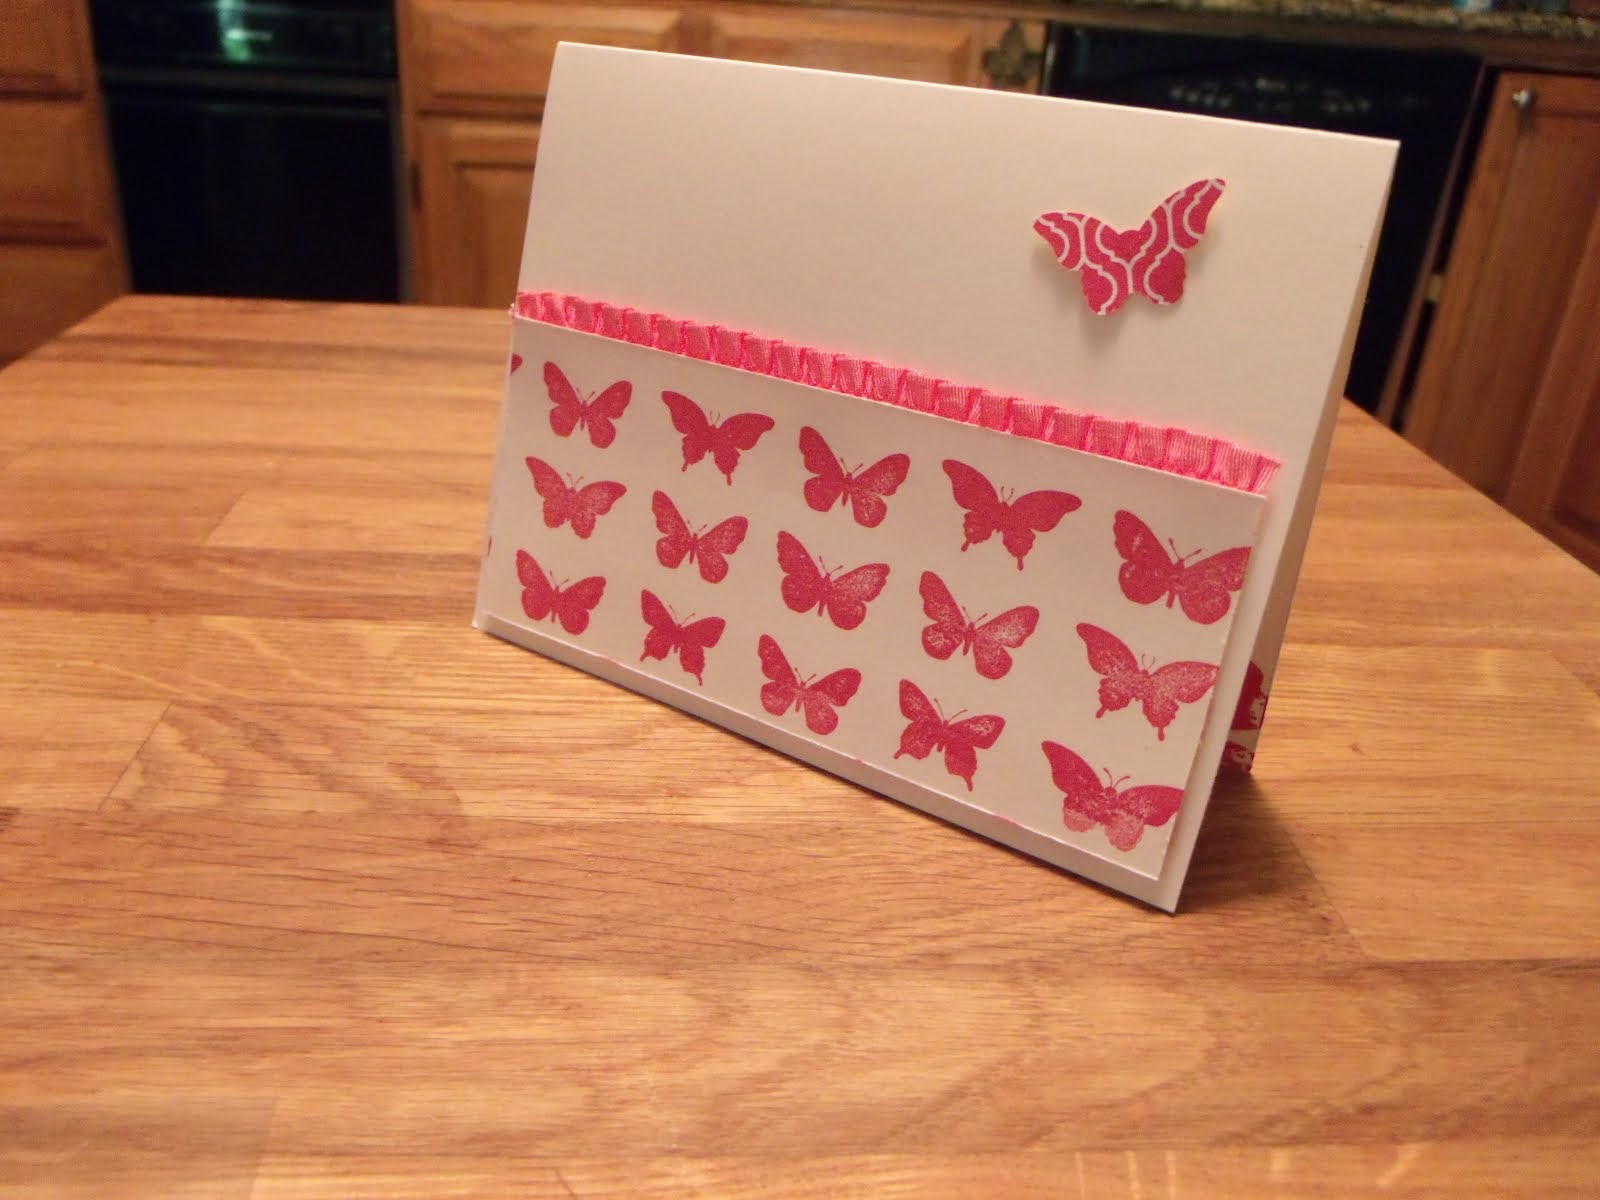
| Tied Scallop Tag Topper Card |
set - painted petals
cs - pistacio pudding, IC DSP, gold foil, whisper white
ink - crisp cantaloupe and pistacio pudding pads
access - tag topper punch, pistacio pudding ruffled stretch ribbon, dimensionals, stampin' pierce mat
Start with the pp cs in the landscape mode and line up the tag topper punch edge with the edge of the cs. Push the cs all the way in and punch. Do the same to the other side, being sure that you line up the same edge on opposite sides. Cut off below and above the punches, saving the small pieces you cut off for the next project. Score the tab on the right side and 4-1/4" from there. This becomes the back of the card. Dawn has a good video tutorial for this type of card HERE.
 |
| Tied Scallop Tag Topper Card, open |
 |
| Scallop Tag Topper 2, 4, 6, 8 Box, front |
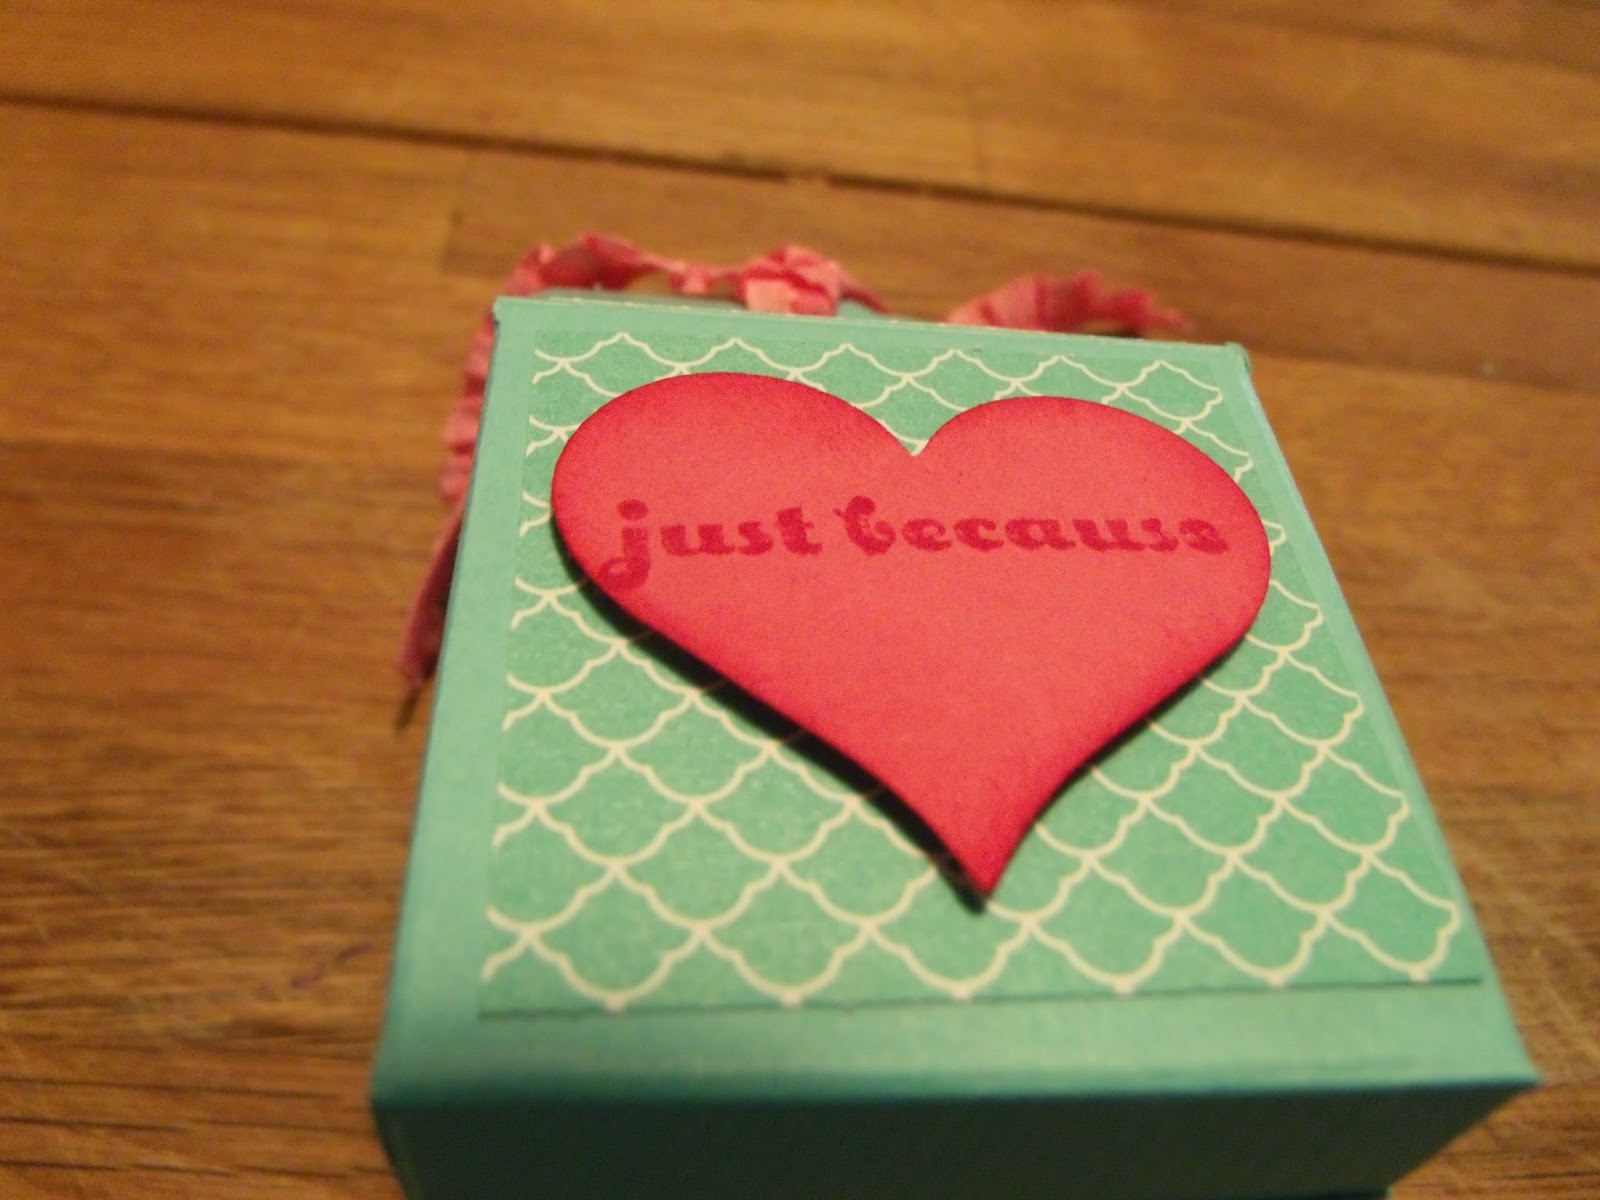 |
| Scallop Tag Topper 2, 4, 6, 8 Box, back |
 |
| Scallop Tag Topper 2, 4, 6, 8 Box, front |
 |
| Scallop Tag Topper 2, 4, 6, 8 Box, back |
set - and many more
cs - coastal cabana, whisper white, IC DSP, pistacio pudding scraps from previous card, strawberry slush scraps
ink - strawberry slush and coastal cabana pads
access - sponges, dimensionals, sticky strip, simply scored tool, strawberry slush ruffled stretch ribbon, pearls
punches - scallop tag topper, sweet heart, bird builder, petite petal
 |
| Scallop Tag Topper 2, 4, 6, 8 Box, before assembly |
Happy Stamping! Mary


No comments:
Post a Comment