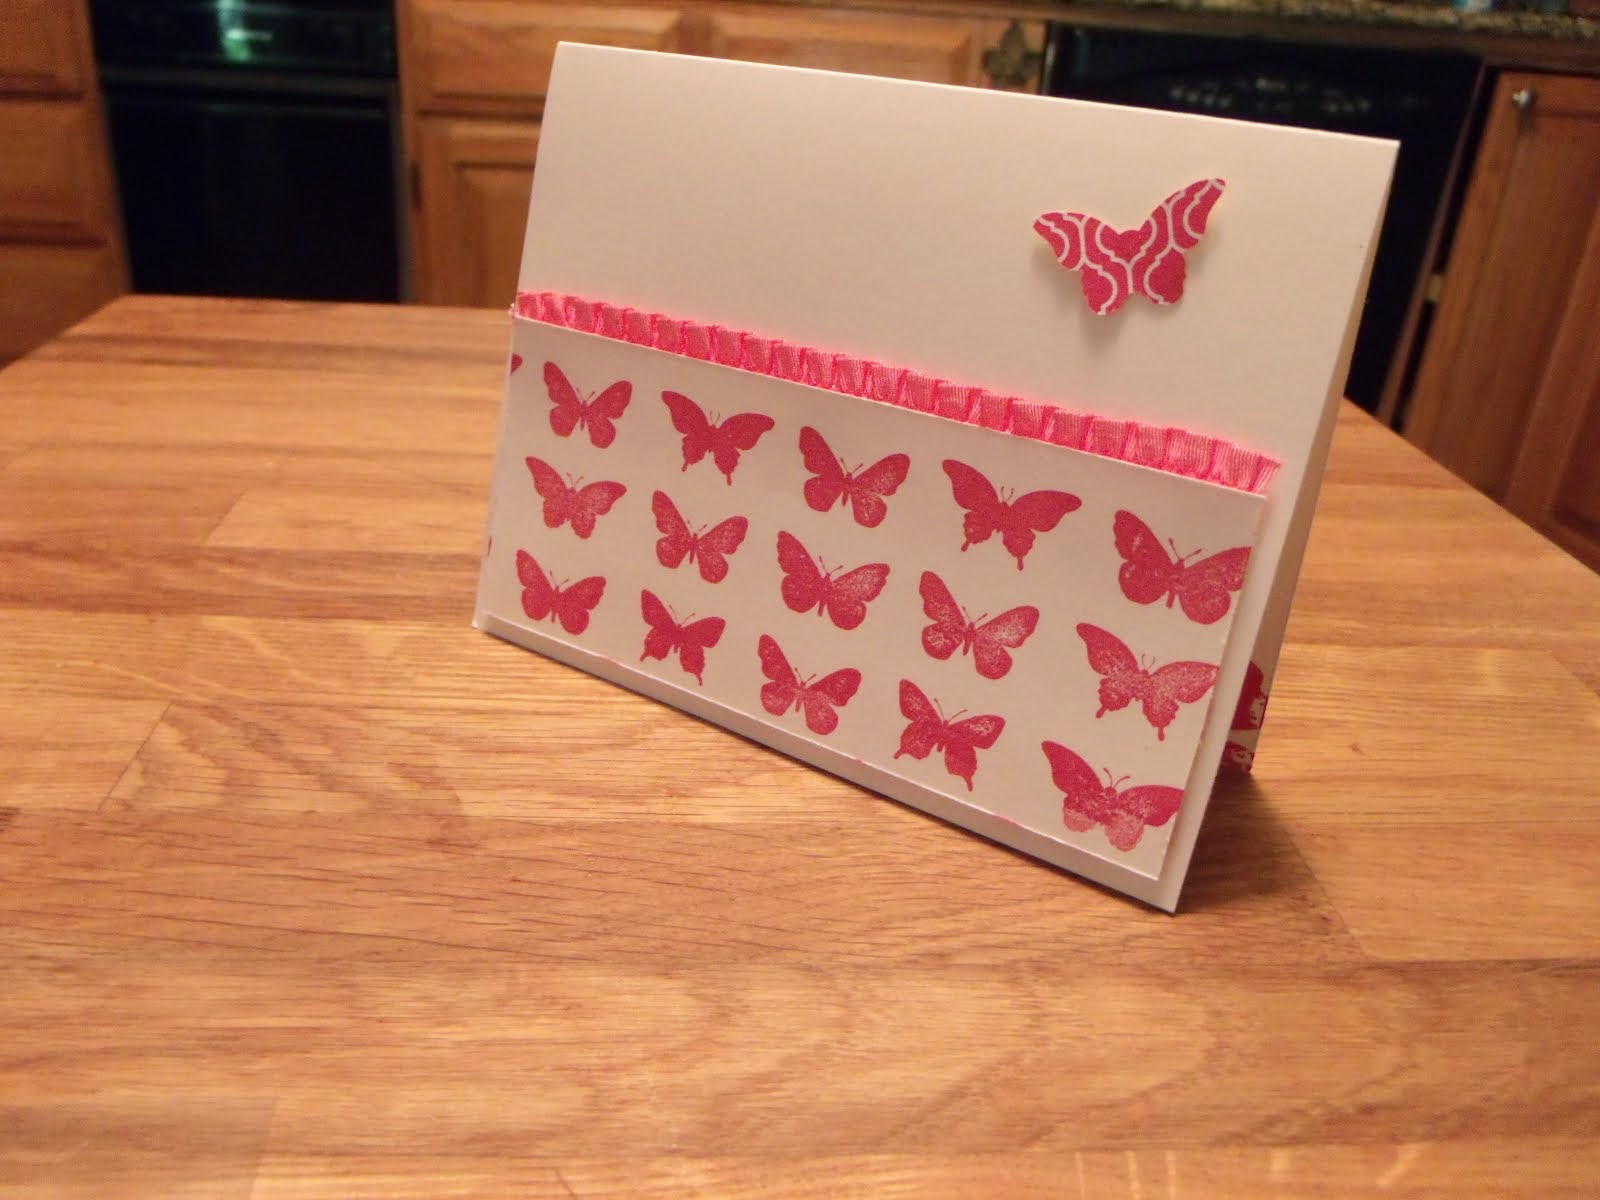
 My friend, Cheryl, put together this card using the Watercolor Splash Technique. The roses turn out a little differently every time, but they're always beautiful.
 Ok, here's my quick little tutorial of the Watercolor Splash Technique.
 Step 1 - use white craft ink and clear embossing powder to emboss your image on shimmer white card stock
(the rose image from the Fifth Avenue Floral set works great - and it's on sale for only $19.96 until April 30th! Call me if you'd like to order the set or any of the supplies to make these spectacular roses).
 Step 2 - Set image in plastic tray. Spritz with water until the water puddles.
 Step 3 - Use classic ink refills in coordinating colors.
 Step 4 - Dip Aquapainter into drops of ink; then just "touch" tip into each section of the rose.
 Step 5 - Clean Aquapainter between colors (to clean squeeze water out onto a rag until it runs clear). Continue adding colors as desired. The colors will spread and blend. Tilt card stock to aid in blending colors.
 Step 6 - Wipe tip of Aquapainter dry (on rag) and use it like a sponge to sop up extra pools of water & ink. It's ok if ink runs outside of the image.
 Step 7 - Let image dry. Allow 20-30 minutes. Once it's almost dry, you can put it in the microwave to help it dry completely. Colors will lighten as they dry.
 Step 8 - Cut out image
 Step 5 - Adhere image to card or project (a different rose was used on this finished card).
See previous post for card supplies
Happy Stamping! Mary


No comments:
Post a Comment