
I had fun designing this box a couple years ago to hold a birthday present for a friend. I liked it so much I made one for myself. My kids come home from school with a ton of fliers that are blank on one side. I roughly cut them up into 3-1/4" squares and put them in the box to use for grocery lists, etc.
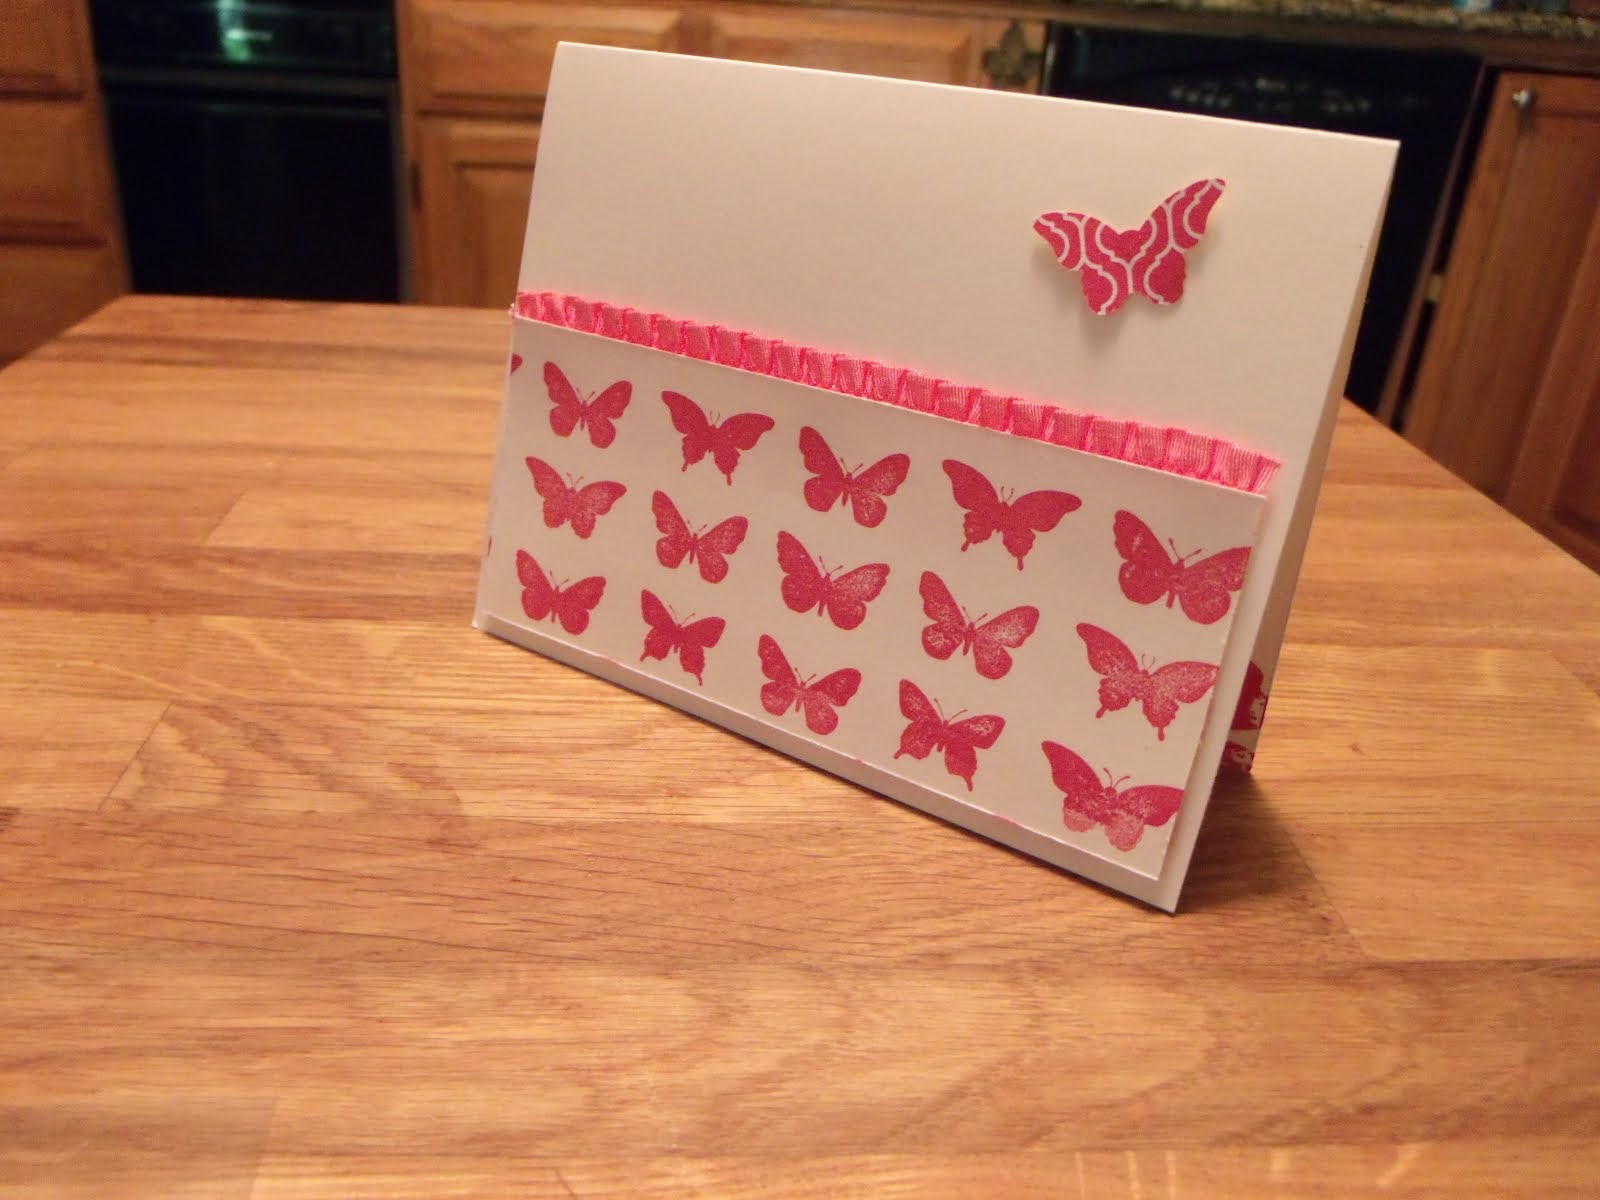
 The box on the left is made with ruby red card stock and has a cube of sticky notes in it. The cameo coral box on the right is the one we made in club.
 This box is made with a 4-1/4" x 10-1/4" piece of colored card stock, scored at 4-1/4" and 6" and a neutral 7" square piece for the inside box. The outer colored piece is basically a half sheet (cut vertically) and trimmed slightly.
 "Waste not -want not" is what I always say. For the neutral piece, start with one sheet of 8-1/2 x 11". First cut 7" off the 11" side. Cut a 7" square out of this 7 x 8-1/2" piece. You will have a 7 x 1-1/2" scrap left over that can be used to punch your 1" circle for the top image. Now turn the 4" x 8-1/2" piece horizontally and cut at 5-1/4". You'll get a 4 x 5-1/4" piece you can use for the "guts" (inside) of a card and a 4 x 3-1/4" piece. Cut a 3-1/4" square out of that piece to decorate the top of your box. You'll have a 3/4" x 3-1/2" scrap left over.
 Score the 7" vanilla square at 1-5/8" on all sides. Cut in on 4 of the score lines to the 1-5/8" score line to form tabs. Decorate the outer edges and add sticky strip to form box. Use sticky strip to attach it to the colored half sheet of card stock at the spine. You can use sticky strip or snail to adhere the box bottom to the colored piece.
Supplies:
sets- pick a petal, thank you kindly
cs- cameo coral, very vanilla, not quite navy
ink- ruby red pad, cameo coral pad, not quite navy pad, basic black marker
access- punches: 1" circle, tound tab, ticket corner and 1/16" handheld punch, silver brads, fire rhinestone circle brads, dimensionals, sticky strip, snail, paper cutter with scoring blade, scissors
Happy Stamping! Mary


No comments:
Post a Comment