Friday, May 1, 2015

Grad Cards

LMU Grad card #1, front
#1 SUPPLIES:
sets- sassy salutations, a retired numbers set and a "contraband" sentiment
cs- basic gray, whisper white, cherry cobbler, basic black
ink- cherry cobbler pad
access- gold bakers twine, dimensionals, mini glue dots
punches- 1" & 1-1/4" square, 3/4" & 1" &1-1/4" circle, decorative label
LMU Grad card #1, inside and envelope

LMU Grad card #2, front and envelope
#2 SUPPLIES:
sets- sassy salutations, a retired numbers set and a "contraband" sentiment
cs- basic gray, whisper white, cherry cobbler
ink- cherry cobbler pad
access- gold bakers twine, dimensionals, mini glue dots
punches- 1" & 1-1/4" square, 3/4" & 1" &1-1/4" circle

LMU Grad card #3, front, inside and envelope
#3 SUPPLIES:
sets- sassy salutations, a retired numbers set and a "contraband" sentiment
cs- basic gray, whisper white, cherry cobbler, basic black
ink- cherry cobbler pad
access- gold bakers twine, dimensionals, mini glue dots
punches- 1" & 1-1/4" square, 3/4" & 1" &1-1/4" circle

Graduation 2014
Cindy Johnson's card
My friend "commissioned" me to make some grad cards. She wanted one for her son's girlfriend who's graduating from LMU with her masters.  I found a simple layout by Cindy Johnson  on Stampin' Connection (an exclusive site for SU demonstrators) which could be adapted for various schools.  This is the first card she needs because LMU ends first.  It's my alma mater so I had fun doing it.  I gave her three choices.  I think she'll like the first one best because it has plenty of room for writing.  I'll share the others in a future post.

Happy Stamping!  Mary

Wednesday, April 29, 2015

May Club Projects

May Club Projects

Tied Scallop Tag Topper Card
SUPPLIES:
set - painted petals
cs - pistacio pudding, IC DSP, gold foil, whisper white
ink - crisp cantaloupe and pistacio pudding pads
access - tag topper punch, pistacio pudding ruffled stretch ribbon, dimensionals, stampin' pierce mat


Start with the pp cs in the landscape mode and line up the tag topper punch edge with the edge of the cs.  Push the cs all the way in and punch.  Do the same to the other side, being sure that you line up the same edge on opposite sides. Cut off below and above the punches, saving the small pieces you cut off for the next project. Score the tab on the right side and 4-1/4" from there.  This becomes the back of the card.  Dawn has a good video tutorial for this type of card HERE.
Tied Scallop Tag Topper Card, open

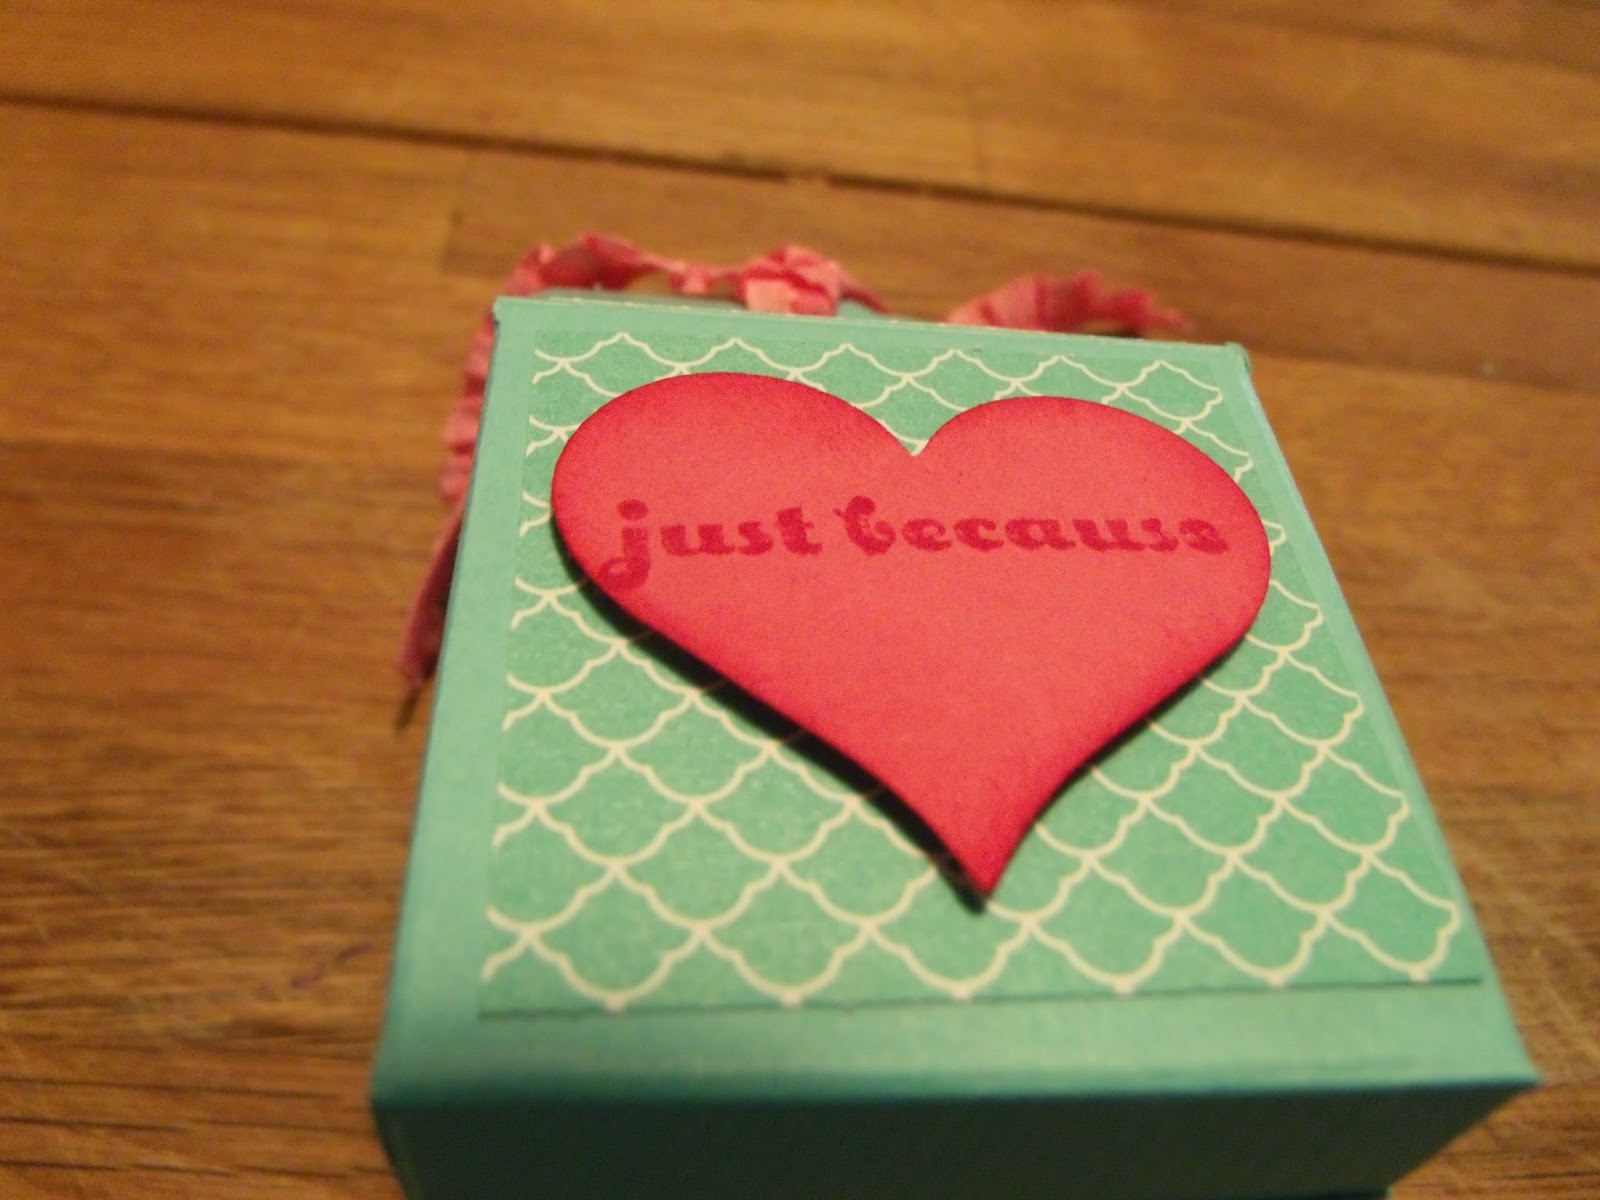
Scallop Tag Topper 2, 4, 6, 8 Box, front
 Be sure to sponge bird, flower and heart before attaching with dimensionals.
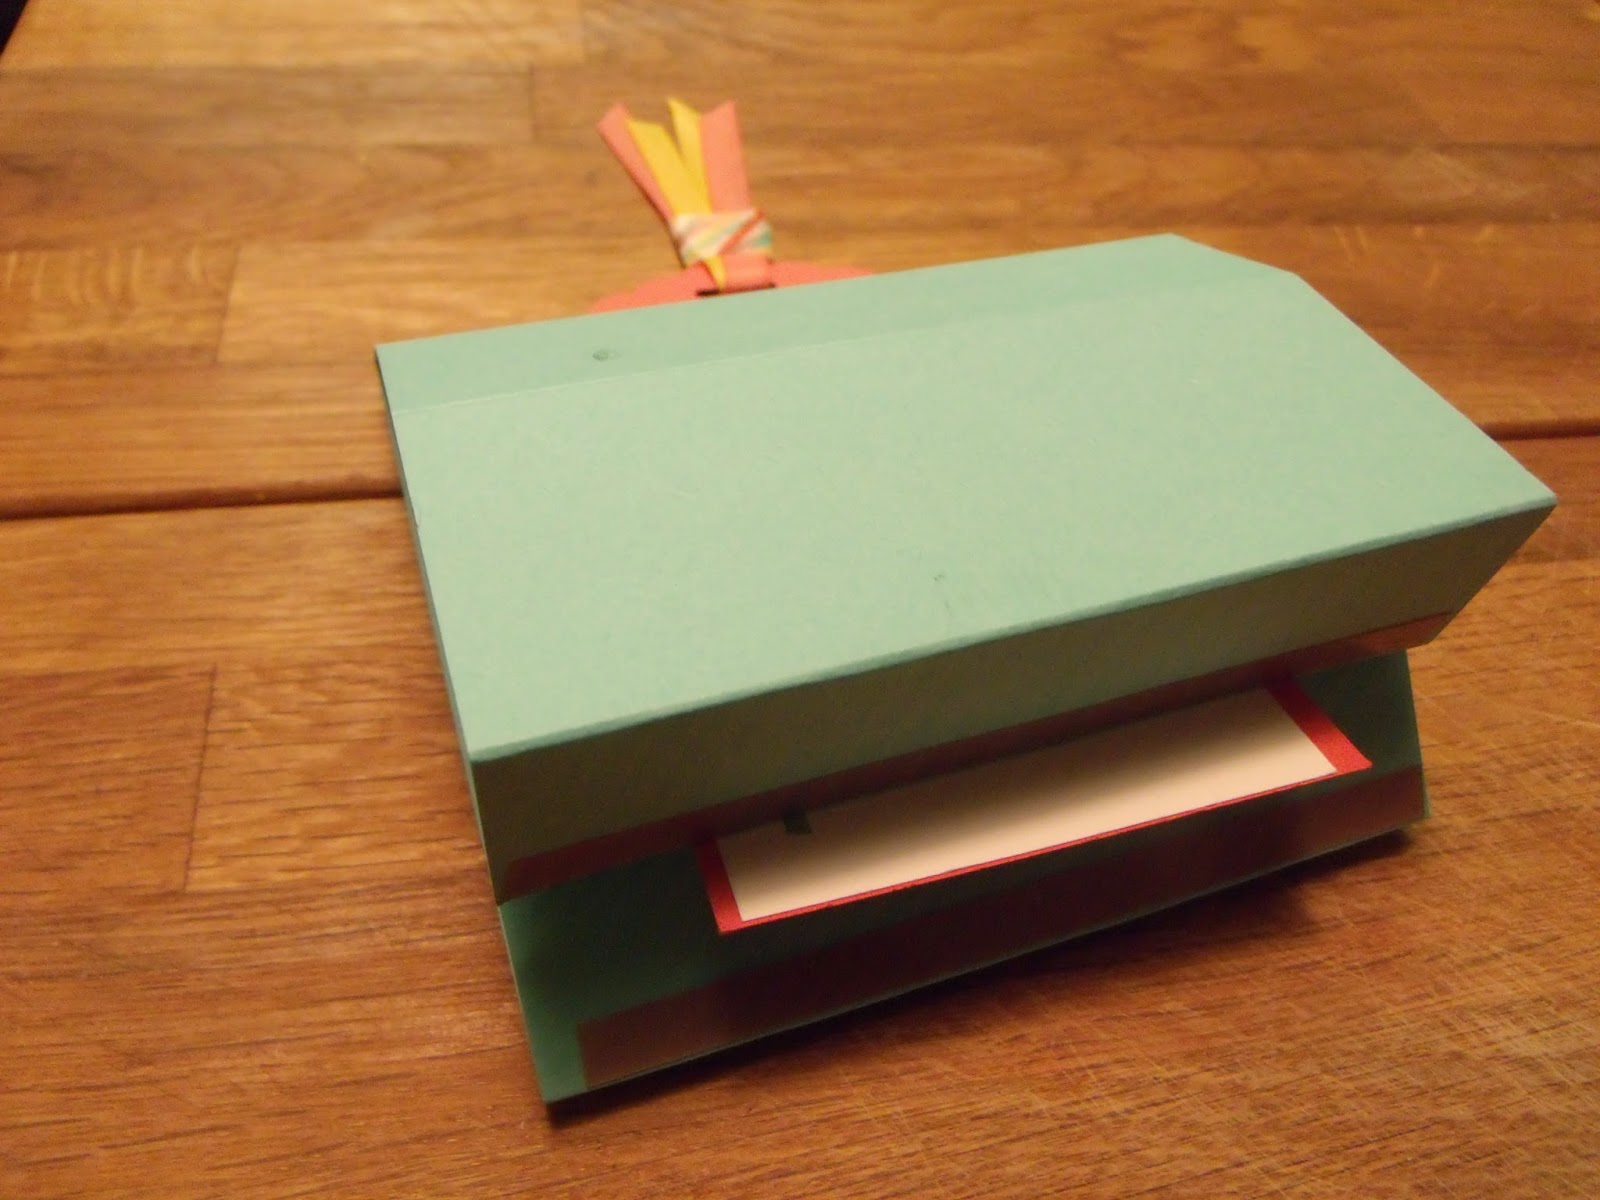
Scallop Tag Topper 2, 4, 6, 8 Box, back
Scallop Tag Topper 2, 4, 6, 8 Box, front
Scallop Tag Topper 2, 4, 6, 8 Box, back
SUPPLIES:
set - and many more
cs - coastal cabana, whisper white, IC DSP, pistacio pudding scraps from previous card, strawberry slush scraps
ink - strawberry slush and coastal cabana pads
access - sponges, dimensionals, sticky strip, simply scored tool, strawberry slush ruffled stretch ribbon, pearls
punches - scallop tag topper, sweet heart, bird builder, petite petal
Scallop Tag Topper 2, 4, 6, 8 Box, before assembly
I saw a tutorial for this box a year ago on Stampin' Connection, but don't remember the demo's name and can't find the video.  The photo looks green, but it's really Coastal Cabana.  First SCORE the box on the 8-1/2" side at 2", 4", 6" and 8", then turn it 90 degrees and score at 2" on the 5- 1/2" side.  You will punch two of the sections with the scallop tag topper punch on the 2" x 3-1/2" section.  Cut as indicated, cutting off the small sections and leaving a 1/2" tab.  Decorate the middle and top pieces with DSP.  Attach the tab with sticky strip or fast fuse.  The top flaps between the scallop sections will fold down to hide the box's contents.  The 2" flaps on the bottom are folded in and adhered with strong adhesive to create the box.  Finish decorating as desired.

Happy Stamping!  Mary

Monday, April 27, 2015

Sr. Ball for Chris and Colleen!

Chris and Colleen

Chris and Colleen

My son went to his girlfriend's senior ball last Sat.  They looked so cute!  Wow, Time is really flying. In June he'll graduate and then he goes to UCSB  in the fall!

I've been busy working on grad cards.  I'll post those soon!

Mary Muhlenkamp

Wednesday, April 15, 2015

SAB Class back in March

All Four Cards
On the supply lists I show SAB items in red.  These items can be earned for free with a $50 net order during Sale-a-bration (SAB).  I'm a little late with this post - sorry!
Cross Over DSP Card
SUPPLIES:
sets - Mixed Bunch
cs - 4-1/4" x 5-1/2" calypso coral, 3-3/4" x 5" whisper white & scraps, best year ever dsp: 4" x 3" curry design, 4" sq coral design
ink - crushed curry, calypso coral pads
access - 14" each of calypso & curry best year ever ribbon, dimensionals
punches - 1/4" handheld, blossom, 3/4" circle

SCORING DSP:
  for 4" x 3" , score at 1/2"
  for 4" sq, score at 3-1/2"

Card Assembly:
  1. stamp 3 3/4" x 5" wh cs with flower center image along top and bottom
  2. Snail the 1/2" tabs of the DSP and attach the smaller one centered vertically under the left side of wh cs and the other one vertically centered under the right side of white cs.
  3. attach the white cs to the coral cs
  4. ink flower image with calypso coral pad, stamp on white scrap and punch out with blossom punch
  5. ink flower center image with crushed curry pad, stamp on white scrap and punch out with 3/4" circle punch 
  6. add ribbon, using stay put knot to card front 
  7. add punched flower to card front with a dimensional, add punched flower center with another dimensional
STAY PUT KNOT DIRECTIONS:
1.    Punch ¼” hole where you want knot to be
2.    Enter ribbon and leave a 3” tail on front of card
3.    Wrap ribbon all the way around card
4.    Come up hole from the back
5.    Make sure “tails” are even length and one on each side of ribbon and tie a knot

Cross Over DSP Card, open

Simple Punch Card
Punch out  flowers and then punch squares around them.  Save Flowers for inside of card.  Punch itty bitty banners and attatch to under side of top piece.  Mount top piece with dimensionals

SUPPLIES:
sets - A Dozen Thoughts, SAB Simply wonderful (optional inside greeting)
cs - 5-1/2" x 8-1/2" mossy meadow card base and scraps, 2@ 5-1/4" x 4" and 4-1/4" x 3-1/2" very vanilla, hello honey scraps, blackberry bliss scraps
ink - mossy meadow marker
access- rhinestones, dimensionals
punches - itty bitty accents, itty bitty banner, 1-1/4" square

Irresistibly Yours Card
Either brayer or sponge Irresistibly Yours dsp with razzleberry ink until you get desired depth of color.  Wipe off excess ink with paper towel.

SUPPLIES:
sets - Painted Petals
cs - 8-1/2" x 5- 1/2" whisper white card and 3-1/4" square, 2" x 5- 1/4" irresistibly yours SAB DSP
ink - island indigo, rich razzleberry and wild wasabi pads
access - painted blooms cotton twine, sponge or brayer, rhinestones


Lotus Blossom meets Painted Blooms DSP Thank You Card
SUPPLIES:
sets -  SAB Lotus Blossom
cs - 8-1/2" x 5-1/2" garden green card, 4" x 5-1/4" painted blooms dsp, 4" x 5-1/4" whisper white (guts), 2-1/4" x 4" and scraps, 2-1/2" x 4-1/4" pacific point
ink - pacific point, marina mist, soft sky and garden green pads
access - 4" marina mist chevron ribbon, dimensionals, sponge
punches - large oval
Lotus Blossom meets Painted Blooms DSP Thank You Card, open

Below is a card people had the choice to make for an extra fee which was donated to Build A Miracle, a non-profit started by my college friend.
Specialty Free standing Pop up Card, open
Specialty Free standing Pop up Card, closed front
Specialty Free standing Pop up Card, closed back
We made free standing pop up cards in club.  See this post for basic card directions.   This tag is slightly wider, so the slit is slightly bigger.
Specialty Free standing Pop up Card, sort of closed side view

Specialty Free standing Pop up Card, open side view 
SUPPLIES:
sets - SAB Big Day
cs - 4-1/4" x 11" (base card) and 3" x 5-1/4" (tag) bermuda bay, 2-1/2" x 4-1/4" (tag) and scraps whisper white, 4-1/4" x 1" (card front) and 3" x 1" (top of tag) birthday bash dsp
ink - bermuda bay pad
access- sticky strip, dimensionals, sponge, decorative label punch
Specialty Free standing Pop up Card, pieces before and after assembly


Happy Stamping!  Mary

Wednesday, March 11, 2015

March Club - Free Standing Pop Up Cards

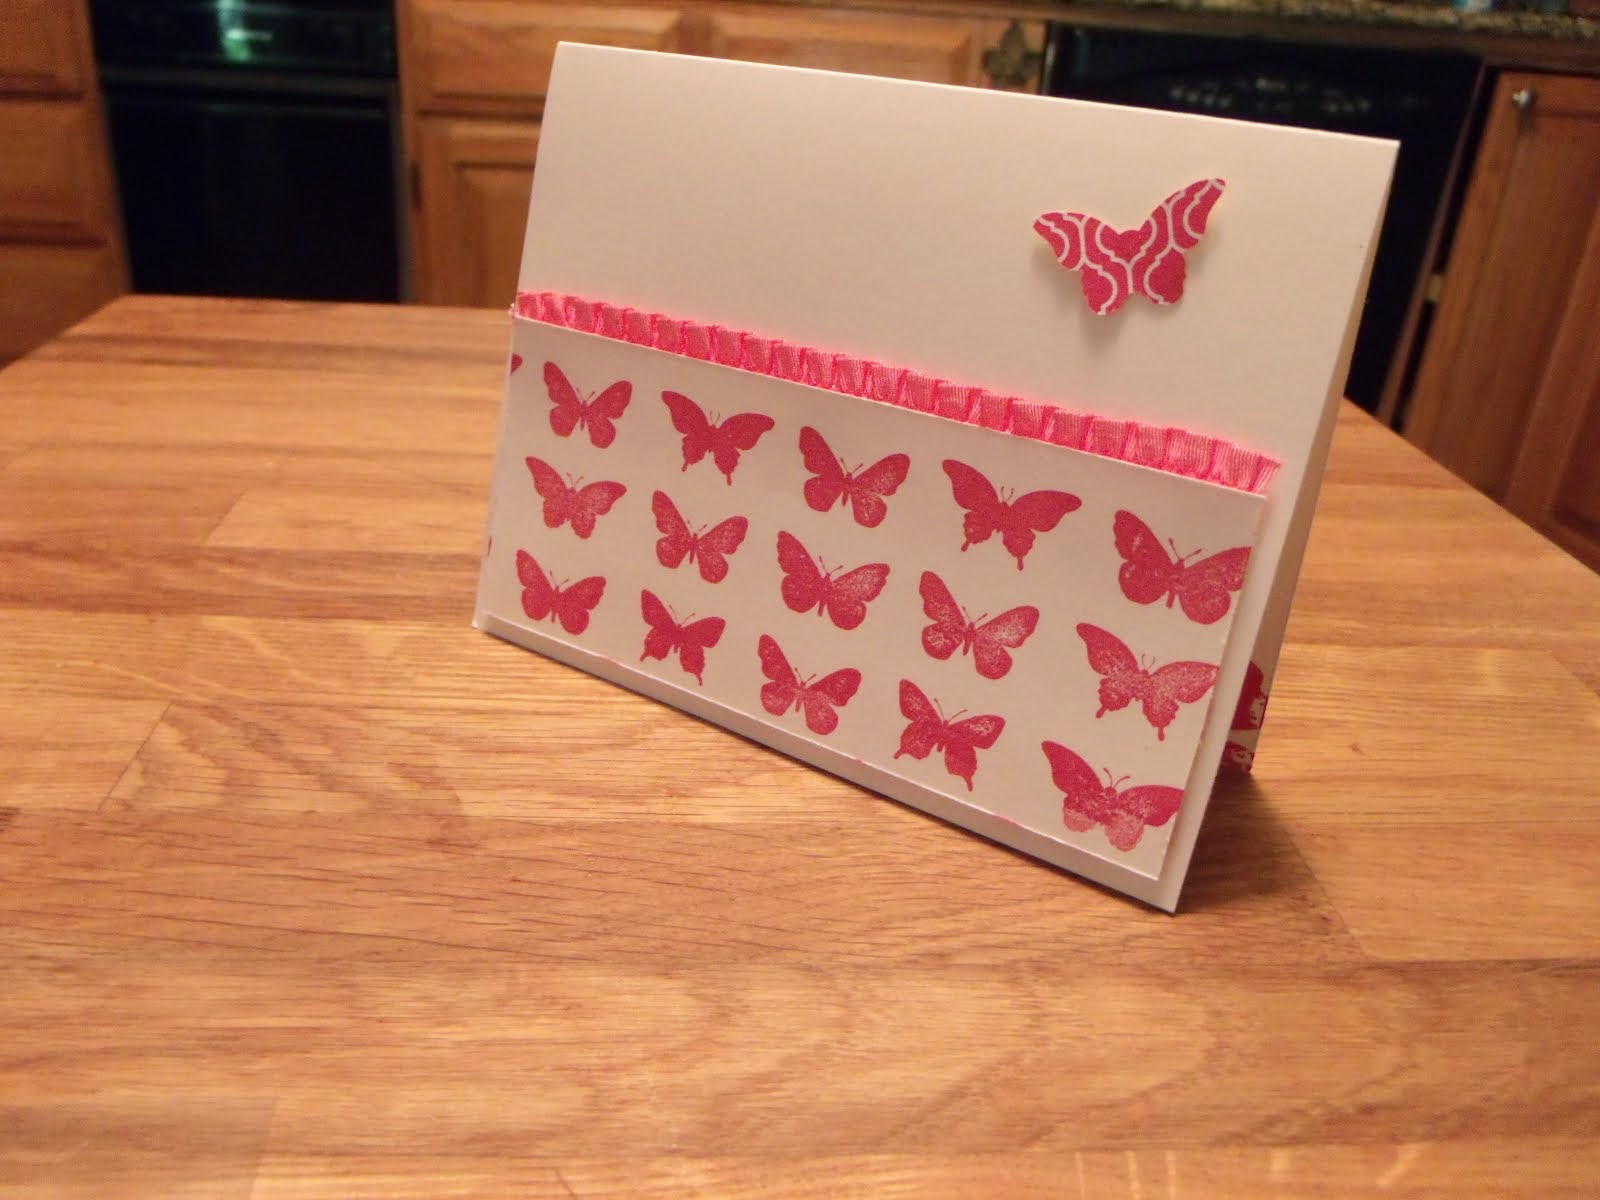
Butterfly Free Standing Pop Up Card
We made these fun cards in our March club.  They are great because they fold flat and fit in a regular envelope!
Butterfly Free Standing Pop Up Card
SUPPLIES:
sets - Simply Wonderful (SAB)
cs - elegant eggplant, wisteria wonder, whisper white
ink - elegant eggplant pad
access - Simply Scored tool, white organza ribbon, multi-use adhesive sheets (to create butterfly "stickers"), rhinestones, sticky strip, dimensionals
punches - 1/4" handheld hole, large oval, elegant butterfly, itty bitty butterfly, corner rounder
Butterfly Free Standing Pop Up Card, pieces
Attach the butterfly piece last so the card is no taller than 5-1/2".  I used a piece of sticky strip and put the oval about half way down, then when you fold up the card the oval slips over the front of the card.


Free Standing Lotus Thank You Cards, open
Free Standing Lotus Thank You Card
You can inset a wider than 2" piece of cs into the scalloped tag topper punch and then snip off the extra side pieces.
Free Standing Lotus Thank You Cards
The cs in this photo looks green, but it's really blue (coastal cabana)
FREE STANDING TAG DIRECTIONS:
1.    Hold card base horizontally and SCORE AT: 1”, 2 ¾”, 3 ¾”, 5 ½”, 7 ¼”, 8 ¼”, 10”
2.    Along the middle 5 ½” score line mark 5/8” (or ½”) from both sides & cut between these two marks to make a slit for your tag
3.    Add sticky strip to both of the ½” “tab” ends of card base, along outside edge on one side and just inside the fold on the other side.
4.    Decorate card base as desired at this point.  Make tag and slip it through slit
5.    Fold up “tab” end, make sure tag is straight, centered left to right and bottom edge lines up slightly above the folded up tab edge
6.    Remove the sticky strip liner and stick tag to it

7.    Fold under the tab on the other edge of card, remove the sticky strip liner, fold down on the 5 ½” score line and adhere to card (the tag will stick up from the slit)
The cs in this photo looks green, but it's really blue (coastal cabana)
Photos show card assembly before decorations are added.  If you are doing a stay put knot or bow it's VERY important to add the ribbon before sticking card together.  You can easily tie a ribbon on after assembly if you are NOT doing the stay put knot/bow.
SUPPLIES:
sets - Lotus Blossom (SAB)
cs - coastal cabana, calypso coral, whisper white
ink - crushed curry, coastal cabana, calypso coral pads
access - Simply Scored tool, SAB Best Day Ever buttons & ribbon pack, dimensionals, sticky strip, dimensionals, mini glue dots, retro fresh washi tape (retired)
punches - 1/4" handheld hole, large oval, scallop tag topper, corner rounder


STAY PUT KNOT DIRECTIONS:
1.    Punch ¼” hole where you want knot to be
2.    Enter ribbon and leave a 3” tail on front of card
3.    Wrap ribbon all the way around card
4.    Come up hole from the back.
5.  Make sure “tails” are even length and one on each side of hole, then tie your knot (or bow) and trim ends.


Happy Stamping!  Mary

Tuesday, March 10, 2015

SU! News

Another new photopolymer set is available!

See the new Photopolymer set, Just Kidding HERE.  It is great!!!  Or there's a link on my sidebar.

Monthly Photopolymer Stamp Set Program:
SU! is transitioning photopolymer stamps to its catalogs. The last monthly photopolymer stamp set will be offered March 10, and is guaranteed to be available for six months.


BLENDABILITIES UPDATE:  There have been continued quality issues with the Blendabilities Markers product line.  Due to the nature of the defect, Stampin' Up! has concluded that difficulties, dissatisfaction, and product returns will only become more widespread. The manufacturer is unable to correct the problem in a manner that Stampin' Up! is certain would meet their high quality standards and provide them with a stable, long-term solution. Therefore, after a great deal of deliberation and in order to prevent further disappointment, the Blendabilities product line has been discontinued.

BLENDABILITIES Q & A

Q: Will the Tuxedo Black Memento Pad (item #132708) and the Tuxedo Black Memento Pad Refill (item #133456) still be available for purchase?
A: Yes. These items will continue to be available for purchase.  

Q: What are the quality problems with this product?
A: When the tip is welded to the barrel, the welding process can leave microscopic (invisible) holes in the marker tip. This leads to accelerated evaporation of the alcohol in the ink.

Q: Are all Blendabilities markers defective?
A: No. Most Blendabilities markers work as intended.
  
Q:  What if I have Blendabilities markers that are defective?  If you ordered them through me, please email me for assistance.  If not, please contact the demonstrator you ordered them through.

Happy Stamping!  Mary


Thursday, February 12, 2015

New Photopolymer Set!

See the new Photopolymer set, Lovely, Amazing You HERE.  Or there's a link on my sidebar.

Sorry I haven't had classes lately, but I've been very busy with Life (death, strokes, appointments, surgeries, etc).

Happy Stamping!  Mary

Saturday, January 31, 2015

February Club - Building Block Cards & SUO Challenge #115 Valentine Wishes

Valentine Building Card
This is the first of the cards my club will make on Wed.  It also my version of the SUO Challenge #115 Valentine Wishes.  See the link on the right column of my blog if you want to play along.

SUPPLIES:
sets - Petite Pairs, retired caligraphy alphabet (could substitute Sophisticated Serifs in the Occasions catalog)
cs - real red, whisper white, early espresso, blushing bride, red glimmer paper
ink - early espresso pad
access - big shot and happy hearts TIEF, 8" real red stitched grossgrain ribbon, dimensionals
punches - scallopped tag topper, sweet heart, itty bitty accents punch pack

It's hard to see in my photo, but I've textured the whole front blushing bride piece, the left bb inside piece but only the bottom of the bb right inside piece.  That way there's some place to write your message.
Valentine Building Card, open
Get Well Building Card
SUPPLIES:
sets - Painted Petals, And Many More, retired caligraphy alphabet (could substitute Sophisticated Serifs in the Occasions catalog)
cs - soft sky, whisper white, wild wasabi
ink - wild wasabi and daffodil delight pads
access - big shot and spring flowers TIEF, 6" painted blooms cotton twine (wild wasabi), dimensionals
punches - scallopped tag topper, word window and modern label

Again, I didn't texture with the spring flowers on the right inside piece so there would be some place to write a message.

Get Well Building Card, open
This is a "z-fold" type of card.  I saw a tutorial on SCS for a building block card a year ago and have wanted to make it ever since.  They have a great tutorial and video, so I won't try to recreate it.

Here are a few ideas for the greetings on the blocks (any 4 or 3 letter word works well):

  • BABY GIRL
  • BABY BOY
  • LOVE YOU
  • WITH LOVE
  • GET WELL
  • NOEL/JOY
  • GOOD JOB
  • WELL DONE
  • BDAY GIRL
  • BDAY BOY
  • EAT CAKE
  • WISH BIG

Happy Stamping!  Mary