Saturday, December 3, 2011

Countdown, Day 3, Oct. Holiday Stamp Camp part 1


I originally made this card at a demonstrator get together. I changed it so I could use 8.5" x 11" card stock & added the inside. We made it in my holiday stamp camp, along with a couple other cards and a couple more Christmas projects I'll show in the next couple days. My good friend Cheryl came from Livermore with some of her customers to hold a stamp camp with me back in Oct. It's so much fun to stamp with friends!

Supplies:
sets- perfect pairs, stitched stockings, word play
cs- cherry cobbler, wild wasabi, whisper white, silver glimmer paper
ink- cherry cobbler & wild wasabi pads
access- cherry cobbler baker's twine, mini jingle bells, mini glue dots, stocking builders punch, scallop edge punch, paper piercer & mat pack


This was the Thanksgiving card we made at the Oct Holiday Stamp Camp. We used the beautiful Mocha Mornings specialty dsp. The other colors we used were soft suede and crumb cake. We also used the decorative label and wide oval punches, the stripes embossing folder and pearls.

Happy Stamping! Mary

Friday, December 2, 2011

Countdown, Day 2


This is the sweet treat holder we made in my Nov. Club. At first I just made the punch art santa on the bottom left, but then I saw a sample of the one on the top right. I thought he was much cuter, but I gave my ladies the choice of which one they wanted to make. Wed. my friend Shelagh and I made a bunch of these (that she's filling with M&M's) for table decorations at a Christmas breakfast.

Supplies (for top right Santa):
long cello treat bags, white scallop oval for hat trim, 1 red wide oval for hat texturized with snowburst ef, 1 white boho blssoms for pom pom popped up with dimensional, mini jingle bell attached with mini glue dot, blushing bride large oval for face, 1/4" circle punch - 2 pacific point for eyes & 1 blushing bride for nose, 1 red itty bitty punch pack circle for mouth, 1 white ornament punch for beard (optional to texturize with elegant lines ef - I cut off top part with large oval punch before glued to face) and 2 white bird wings for mustache popped up on dimensionals. Also, 1 totally tags greeting stamped in red ink on white cs and punched out with 1" square punch then layered on a red scallop square for tag. Tag is attached with Cherry Cobbler Baker's twine threaded using a dental floss threader through a 1/16" hole punch. Cello bag is filled with Cinnamon Almonds from Trader Joe's.


Here are a couple more treat bags that were much simpler to make.


Happy Stamping! Mary

Thursday, December 1, 2011

Countdown, Day 1


I will be counting down the days until Christmas by posting a card or project (mostly related to Christmas) every day! I hope you will join me. Leave a comment if you can; I really appreciate it.

This is a center step card we made in my November Club. I copied it from a card I saw on Stampin' Connection (an online community just for SU demonstrators where we can share our projects). It's a perfect project to use the new Simply Scored tool.

It features the Delightful Dozen set, Curly Cute set and the Stitched Stockings set (punched out with the stocking builder punch and popped up on dimentionals). It's great because you can get two cards out of one piece of card stock. It uses Frosted Lodge dsp, Cherry Cobbler and Whisper White cs, Garden green ink, mini jingle bells and cherry cobbler Baker's twine. The side panels are given texture with the Big Shot and Petals A Plenty embossing folder.

Happy Stamping! Mary

Tuesday, November 29, 2011

Poppy Parade Glimmer Paper


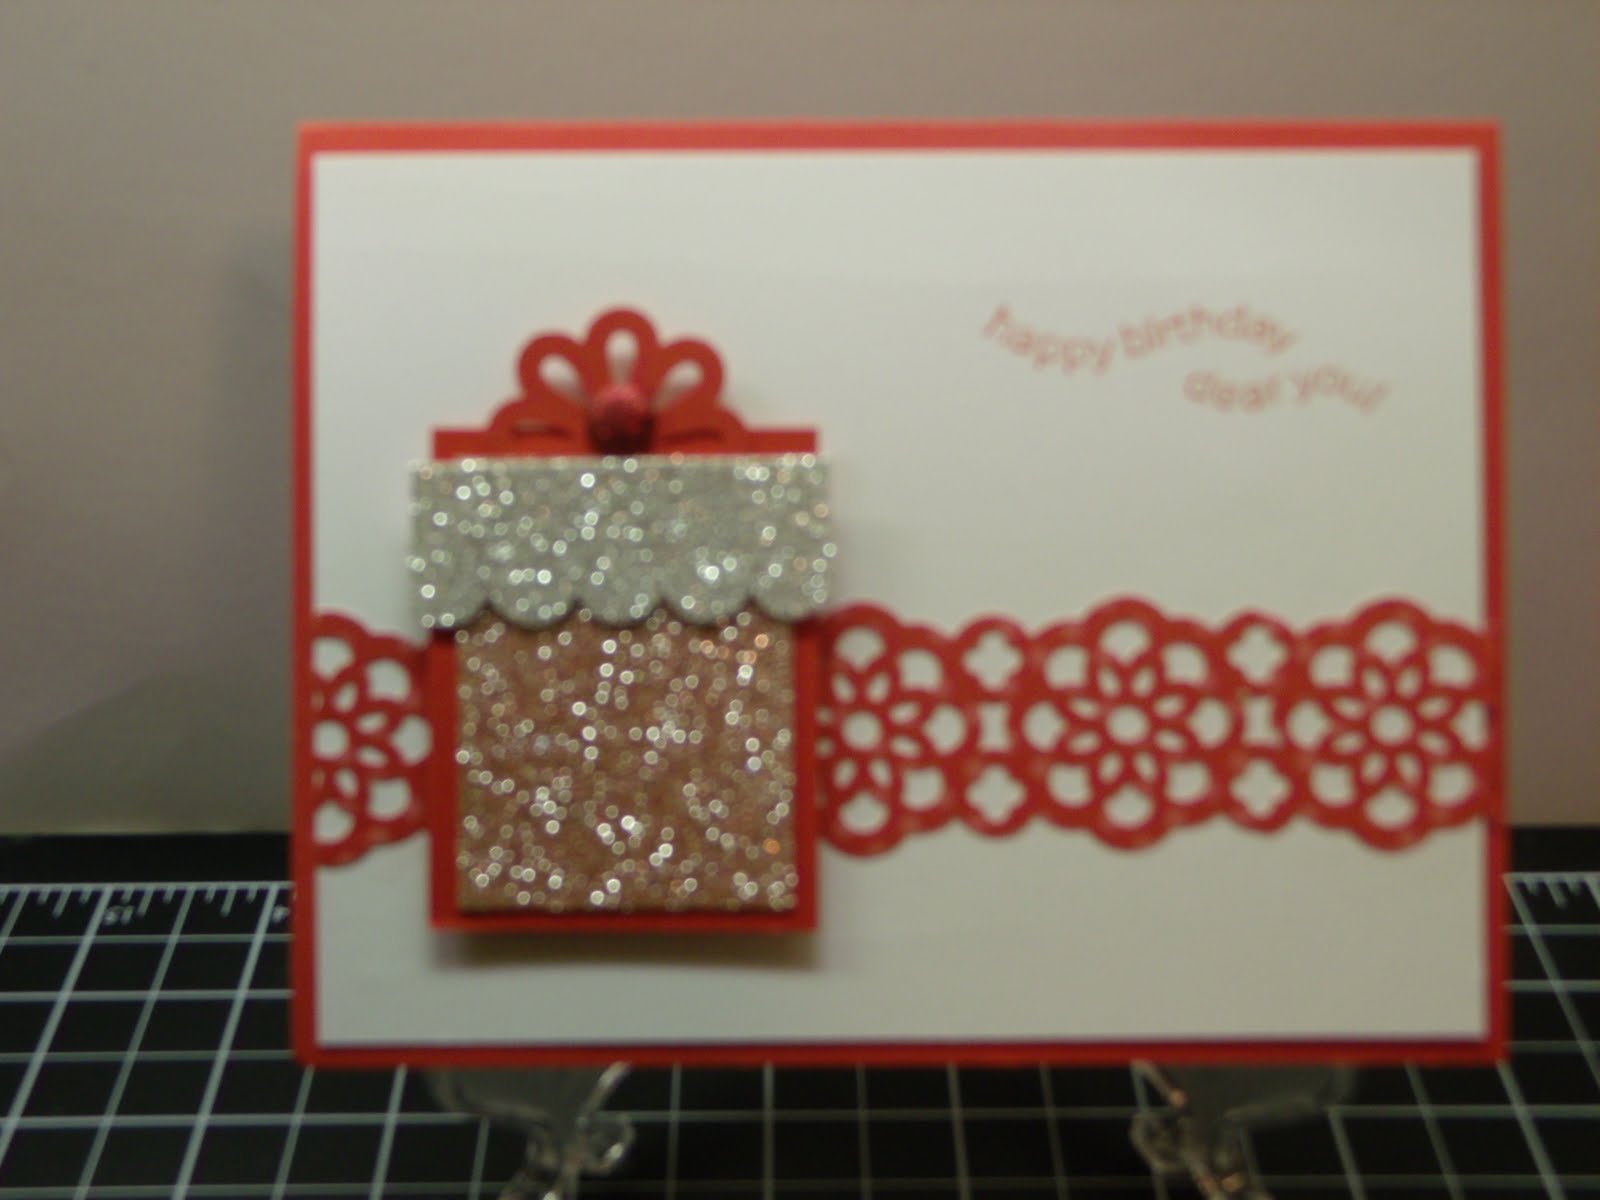
Here's a card I designed for my good friend's birthday. I wanted to experiment a little more with the technique of coloring the silver glimmer paper. It's really easy to do. You just squirt a few drops of a classic ink refill onto a plastic lid, dip your aqua painter into it and "paint" your silver glimmer paper. The color will lighten a little as it dries. It's best to let it air dry. If you blot it you will lose a lot of the color. You can speed up the drying time with your heat tool or the microwave (about 30-50 seconds). I didn't have any poppy parade ink refill, so I used tango tangerine and that seemed close enough for me.

Supplies:
sets - happiest birthday wishes
cs - whisper white, poppy parade cs and dsp, silver glimmer paper
ink - poppy parade pad, tango tangerine classic ink refill
access - ic glimmer brads, scallop border punch, lace border punch, blossom bouquet triple layer punch, mini glue dots, two way glue pen, dimensionals

Happy Stamping! Mary

SUO Stockings


The Stamping Up Only (SUO) challenge today is to use your favorite Christmas colors. Well, I'm traditional and like green and red. This card is very traditional, from the colors to the layout. It starts with a whisper white card, layered with real red and stockings punched out of Old Olive dsp using the stocking builder punch. I also stamped the center stocking in Real Red with the Stitched Stocking set and punched it out. There's a strip of Frosted Lodge dsp which reminds me of a mantle. The silver glimmer paper punched with the scallop trim border punch makes it look like the mantel is trimmed with a garland of tinsel. There's also silver glimmer paper on the heal, toe, and cuff of the center stocking and a rhinestone. All three stockings are popped up on dimensionals. Finally, mini jingle bells were attached using mini glue dots. The sentiment is from Christmas Greetings.

Happy Stamping! Mary

Monday, November 28, 2011

Technique Class


Christmas Wreath Card. This was my favorite of the cards. I saw it on Stampin' Connection, an online community for SU demonstrators.
Supplies:
set - medallion background stamp, jolly jingles jumbo wheel
cs - confetti cream, cherry cobbler, always artichoke
ink - always artichoke pad, cherry cobbler pad and marker
access - sponge, shimmer paint mist (mix a few drops shimmer paint into a small spray bottle of rubbing alcohol), cherry cobbler seam binding, antique brad, 2-way glue pen. scallop circle punch, small circle from itty bitty punch pack, corner rounder

Elegant White & Silver Christmas Card. I got the idea for this beautiful card from my "upline" demonsrator mentor.
Supplies:
sets - curly cute
cs - silver glimmer paper, whisper white, shimmery white
ink - silver pad
access - 2-3/8" scallop circle punch, 1-1/4" & 1-3/8" & 1-3/4" circle punches, vanilla velvet ribbon, mini jingle bells, basic glimmer brads, itty bitty punch pack, basic pearls, mini glue dots, Big Shot, stripes embossing folder, petals a plenty embossing folder.


Birthday Card I love how simple this card is! My friend Cheryl designed it. You can easily change the color of the silver glimmer paper with an aqua painter and a classic ink refill. Tomorrow I'll show you another sample in a different color.
Supplies:
sets - perfectly penned, happiest birthday wishes
cs - whisper white, tempting turquoise, silver glimmer paper
ink - tempting turquoise pad and ink refill
access- Big Shot, top note, polka dots embossing folder, aqua painter, mini glue dots, blossom bouquet tripple layer punch, rhinestones


Grateful/Thanksgiving Card. I wanted to show how to do paper quilling and thought the pumpkin vines would allow people to be creative as they tried out this surprisingly simple technique.
Supplies:
sets - grateful greetings, teeny tiny wishes
cs - soft suede (textured or smooth for the card base), very vanilla, brights dsp, pumpkin pie, old olive
ink - soft suede, pumpkin pie and old olive pads
access - paper piercer (for the paper quilling, you could also use a toothpick), big shot, pumpkins embosslit, little leaves embosslit, dimensionals, multipurpose liquid glue

Happy Stamping! Mary

Thursday, November 24, 2011

Happy Thanksgiving!

I hope you are all having a Happy Thanksgiving. This is one of the cards we made in class last week. I finally figured out how to upload my photos onto my new laptop. Right now I want to put up my feet and watch the 49er game. I'll try to start blogging regularly really soon.


Did you all stuff yourselves on turkey and the fixings? Don't you just love this card? My customer, Peggy shared it with me and I just love it.

Happy Stamping! Mary

Friday, November 4, 2011

Free Big Shot or $100 SU Merchandise!


Get a FREE Big Shot or $100 of free product in addition to the regular product you choose in the Demonstrator Starter kit by signing up to become an SU! Demonstrator. This is a special offer from SU! and is only available until Fri, Nov. 11, 2011.

Here is what you get for $175:
$24.95 Stamp set
$28.95 Stamp set
$22.95 Stamp Set
$9.95 A la carte stamp
$6.95 standard size wheel
$6.95 clear block
$21.95 Designer Series Paper Pack
$6.95 Assorted Color Smooth Card Stock 8 1/2 x 11
$6.95 Card Stock
$8.95 ribbon
$7.95 Ink pad
$5.95 Classic Ink Pad (4)
$3.50 Stampin' Write Marker (2)
$2.95 Classic Ink Refill
$6.95 Adhesive
$4.50 Stampin Mist Cleaner
$23.95 Punch
$8.95 Embossing Folder
$7.50 Envelopes
$14.95 Color Coach

Total value $254. If you ordered this as a customer you would also have to pay tax and shipping but when you sign up as a Stampin' Up! Demonstrator you get all this for $175. No tax and shipping.

Plus you will get business supplies and Catalogs. Then, after you sign up you get to order either your Big Shot or $100 in additional product of your choice from either the Holiday Mini or Idea Book & Catalog.

As a Stampin' Up! Demonstrator you will have the ability to order with an immediate discount of 20%. You will also receive a monthly magazine filled with samples and ideas. You will also have access to online extras including patterns and instructions for projects in this magazine. In addition you will be able to join the online Stampin' Connection Community for Stampin' Up! Demonstrators Only. This community has videos, samples and lots more!

To stay active you will need to turn in $300 a quarter - but if you decide to do no more than sign up that is ok too! No pressure and no bugging you to meet minimums. But if you do stay active there are some great benefits.

When you sign up under me, you have additional benefits. Every time I have a class (usually monthly) I send you the projects we make and a direction/supply sheet so you can recreate them in your own class! Or you can come to my class for free and make the projects yourself! Also, I am in a great group and you will be invited to attend quarterly meetings (in Walnut Creek) with fun make & takes as well as Shoebox Events in Vacaville.

Some of the other great benefits are that as a Stampin' Up! Demonstrator you get to see the Mini- Catalogs and Sale-A-Bration catalogs EARLY! Yep - You will get to see these in December and place orders from them and receive your 20% discount and hostess benefits!

It really is as simple as it looks. Please contact me if you have any questions.